Woodworking tips are essential for anyone wanting to learn this rewarding craft. Whether you’re a complete novice or have some experience, understanding the basics is crucial for creating beautiful and functional pieces. From choosing the right wood and tools to mastering essential techniques, this guide will equip you with the knowledge and skills needed to embark on your woodworking journey.
This comprehensive guide covers everything from the fundamentals of wood selection and tool usage to advanced techniques like carving and turning. We’ll also explore the importance of safety in the workshop and provide inspiration through examples of woodworking projects and resources.
Choosing the Right Wood
Choosing the right wood for your woodworking project is crucial for its success and longevity. Different wood species have unique characteristics that affect their workability, durability, and aesthetic appeal. Understanding these characteristics can help you select the ideal wood for your project.
Wood Types and Characteristics
Wood species are categorized based on their hardness, grain pattern, color, and other characteristics. Some popular wood types include:
- Hardwoods: These woods are typically denser and stronger than softwoods. They are often used for furniture, flooring, and other structural applications. Examples include oak, maple, cherry, walnut, and mahogany.
- Softwoods: These woods are generally lighter and softer than hardwoods. They are often used for construction, trim, and crafting. Examples include pine, fir, spruce, and cedar.
- Exotic Woods: These woods are sourced from tropical regions and often have unique colors, grains, and textures. They are prized for their beauty and are often used for high-end furniture and decorative items. Examples include rosewood, ebony, and teak.
Wood Properties and Project Suitability
The properties of different wood types influence their suitability for various projects:
- Hardness: Hardness refers to a wood’s resistance to indentation and scratching. Hardwoods are generally harder than softwoods. Hardwoods are ideal for furniture, flooring, and other applications where durability is crucial. Softwoods are more suitable for projects where strength is less critical, such as crafting or construction.
- Grain Pattern: The grain pattern of wood refers to the arrangement of its fibers. Some woods have straight grains, while others have intricate patterns. Grain patterns affect the wood’s appearance and its ability to be worked. For example, woods with straight grains are easier to work with, while those with intricate patterns may be more challenging but offer a unique aesthetic appeal.
- Color: Wood color varies depending on the species and its age. Some woods have a natural reddish hue, while others are yellowish or brownish. Wood color can be enhanced or altered using stains or finishes. When choosing wood for a project, consider the desired color and how it will complement other elements of the design.
- Workability: Workability refers to how easily a wood can be cut, shaped, and sanded. Some woods are easier to work with than others. Hardwoods are generally more difficult to work with than softwoods. When selecting wood, consider your skill level and the tools you have available.
- Durability: Durability refers to a wood’s resistance to decay, insects, and other environmental factors. Some woods are more durable than others. Hardwoods are generally more durable than softwoods. When choosing wood for a project, consider the expected lifespan and the environmental conditions where it will be used.
Examples of Projects Best Suited for Different Wood Types
Here are some examples of projects that are well-suited for different wood types:
- Oak: Sturdy furniture, flooring, cabinets, and butcher block countertops.
- Maple: Cutting boards, furniture, and decorative items.
- Cherry: Fine furniture, cabinets, and decorative items.
- Walnut: High-end furniture, veneers, and decorative items.
- Mahogany: Fine furniture, boat building, and decorative items.
- Pine: Construction, trim, and crafting.
- Fir: Construction, trim, and crafting.
- Spruce: Construction, musical instruments, and crafting.
- Cedar: Outdoor furniture, decking, and aromatic items.
- Rosewood: High-end furniture, musical instruments, and decorative items.
- Ebony: Fine furniture, musical instruments, and decorative items.
- Teak: Outdoor furniture, decking, and boat building.
Essential Tools and Equipment
Starting your woodworking journey requires assembling the right tools. Whether you’re a beginner or a seasoned craftsman, having the essential tools will make your projects easier, safer, and more enjoyable. This section will guide you through the essential tools and equipment, categorized for easy understanding.
Hand Tools
Hand tools are the foundation of any woodworking project. They offer versatility and precision, allowing you to work on intricate details and perform various tasks.
- Measuring Tools:
- Tape Measure: Essential for measuring lengths, widths, and depths accurately. Choose a tape measure with a sturdy hook and clear markings.
- Ruler: Useful for smaller measurements and for marking lines with precision. A combination square is a versatile tool that combines a ruler, a protractor, and a try square.
- Try Square: Used to check for squareness and to mark perpendicular lines. A try square with a metal blade offers greater accuracy.
- Marking Tools:
- Pencil: A basic but essential tool for marking lines and transferring measurements. Use a pencil with a sharp point for accurate markings.
- Marking Gauge: Used to mark parallel lines at a specific distance from an edge. A marking gauge with a locking mechanism ensures accurate markings.
- Cutting Tools:
- Hand Saw: A versatile tool for cutting wood to length and shaping. A crosscut saw is ideal for cutting across the grain, while a rip saw is better for cutting along the grain.
- Chisel: Used for shaping and carving wood, as well as removing waste material. Choose a set of chisels in various sizes and shapes for different tasks.
- Plane: Used to smooth and flatten surfaces. A block plane is great for small projects, while a jack plane is more versatile for larger work.
- Other Essential Hand Tools:
- Hammer: Used for driving nails and securing pieces of wood together. Choose a hammer with a comfortable grip and a weight suitable for your needs.
- Screwdriver: Used for driving screws into wood. A set of screwdrivers with different sizes and types of tips will cover most projects.
- Clamps: Used to hold pieces of wood together while gluing or securing them. Choose clamps in various sizes and types to suit different needs.
- Sandpaper: Used to smooth surfaces and remove imperfections. Choose sandpaper in different grits for different levels of finish.
Power Tools
Power tools can significantly enhance your woodworking experience, offering speed, efficiency, and greater control.
- Circular Saw: Used for cutting wood to length and making straight cuts. Choose a circular saw with a blade guard and a safety switch for safe operation.
- Jigsaw: Used for cutting curves and intricate shapes in wood. Choose a jigsaw with variable speed control for precise cuts.
- Drill/Driver: A versatile tool for drilling holes and driving screws. Choose a drill/driver with a variety of bits and a clutch setting for controlled driving.
- Router: Used for shaping edges, creating decorative details, and making precise cuts. Choose a router with adjustable depth and speed settings for versatile use.
- Belt Sander: Used for sanding large surfaces and removing material quickly. Choose a belt sander with a dust collection system for a cleaner workspace.
- Random Orbit Sander: Used for sanding smaller surfaces and achieving a smooth finish. Choose a random orbit sander with variable speed and dust collection for efficient sanding.
Safety Equipment
Safety should always be your top priority when working with woodworking tools.
- Safety Glasses: Protect your eyes from flying debris and sawdust. Choose safety glasses that fit snugly and offer adequate protection.
- Hearing Protection: Protect your ears from the loud noise of power tools. Choose earplugs or earmuffs with a noise reduction rating (NRR) of 25 or higher.
- Dust Mask: Protect your lungs from inhaling sawdust and wood dust. Choose a dust mask with a N95 or higher rating for optimal protection.
- Work Gloves: Protect your hands from splinters and sharp edges. Choose work gloves with a good grip and durable material.
- First Aid Kit: Keep a first aid kit readily available in case of minor injuries. Include bandages, antiseptic wipes, and pain relievers.
Basic Woodworking Techniques: Woodworking Tips
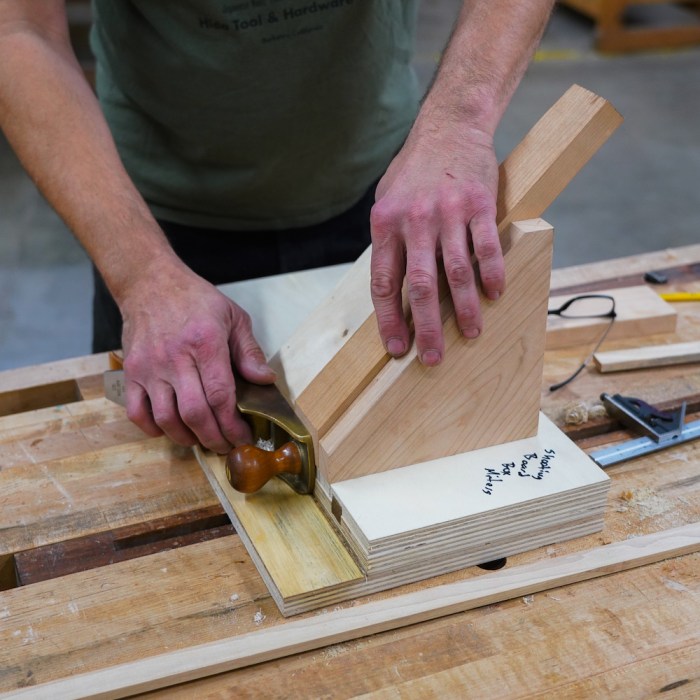
Once you have the right wood and tools, you’re ready to start working. Mastering basic woodworking techniques is crucial for creating successful projects. These techniques involve cutting, shaping, and joining wood, each requiring specific skills and knowledge.
Cutting Wood
Cutting wood is the most fundamental technique. It involves using saws to create precise cuts for shaping and joining pieces.
- Hand Saws: These are versatile and can be used for various cuts. For straight cuts, use a crosscut saw or a ripsaw. For intricate cuts, use a coping saw or a backsaw. Always ensure the saw is sharp and held at a comfortable angle.
- Power Saws: These are more powerful and can make cuts faster. Table saws are great for making accurate, straight cuts. Circular saws are portable and useful for cutting large pieces of wood. Jigsaws are used for intricate and curved cuts.
Shaping Wood
Shaping wood involves using various tools to create specific contours and forms.
- Chisels: These are hand tools with a sharp blade used for carving, cutting, and shaping wood. Choose the right chisel for the job based on its size and shape.
- Planes: These tools are used to smooth and flatten wood surfaces. Jack planes are versatile and suitable for general planing. Block planes are smaller and ideal for detail work.
- Routers: These power tools use a rotating cutter to create various shapes, profiles, and edges on wood. They are used for tasks like edging, carving, and creating decorative designs.
Joining Wood
Joining wood involves securing two or more pieces together.
- Joints: These are connections that hold pieces together. Common types include butt joints, dado joints, and mortise-and-tenon joints. Each joint offers different strength and aesthetic qualities.
- Fasteners: These include nails, screws, and glue. Nails are quick and easy to use, while screws provide stronger holding power. Glue is used for strong, permanent bonds.
Project Planning and Design
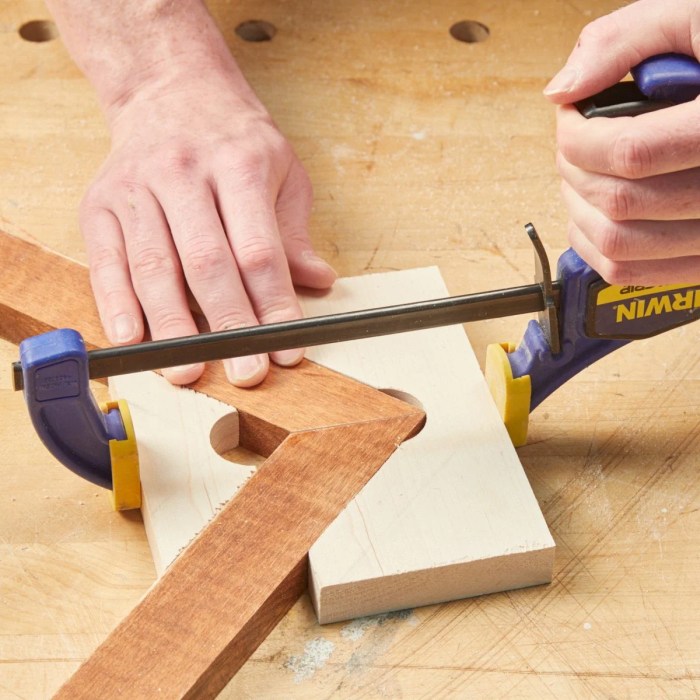
A well-thought-out plan is the foundation of any successful woodworking project. It ensures you have all the necessary materials, tools, and knowledge before you even pick up a saw.
Creating Detailed Plans
Before you start cutting wood, take the time to create detailed plans. This will save you time, money, and frustration in the long run. Your plans should include accurate measurements, clear diagrams, and a detailed list of materials.
Sketching and Drawing Designs
Sketching and drawing your woodworking designs is a great way to visualize your project and make sure it’s to your liking. You can use pencil and paper, or even a computer program like SketchUp or AutoCAD.
Tips for Sketching and Drawing Woodworking Designs
- Start with a basic Artikel of your project.
- Add details like dimensions, joints, and hardware.
- Use different line weights to distinguish between different parts of the design.
- Consider using a ruler or protractor for accuracy.
Project Planning Methods and Software, Woodworking tips
Several different project planning methods and software can help you plan your woodworking projects.
Examples of Project Planning Methods
- Traditional Drawing: Using pencil and paper, you can create detailed drawings of your project, including measurements, materials, and assembly instructions. This method is still popular among woodworkers who prefer a hands-on approach.
- Digital Design: Computer-aided design (CAD) software like SketchUp, AutoCAD, or Fusion 360 allows you to create 3D models of your projects. This provides a more realistic visualization of your project and can help you identify potential problems before you start building.
- Project Management Software: Tools like Trello or Asana can be used to organize your woodworking projects, track your progress, and manage your materials and tools. This can be particularly helpful for larger projects with multiple steps.
Examples of Project Planning Software
- SketchUp: A user-friendly 3D modeling software that is popular among woodworkers. It’s free to use for basic projects, and you can upgrade to a paid version for more advanced features.
- AutoCAD: A professional-grade CAD software that offers more advanced features than SketchUp. It’s a more expensive option, but it’s worth considering if you need to create highly detailed drawings or work on complex projects.
- Fusion 360: A cloud-based CAD/CAM software that offers a wide range of features, including 3D modeling, simulation, and manufacturing.
Finishing and Refinishing
Giving your woodworking project a final touch with a beautiful and protective finish is an essential part of the process. Whether you’re aiming for a natural, rustic look or a sleek, polished aesthetic, choosing the right finish can significantly enhance the beauty and longevity of your work.
Types of Wood Finishes
Wood finishes are broadly categorized into two main types:
- Protective Finishes: These finishes primarily focus on safeguarding the wood from wear and tear, moisture, and other environmental factors. They typically provide a durable barrier that enhances the wood’s resistance to scratches, dents, and stains. Common examples include varnishes, polyurethanes, and lacquers.
- Decorative Finishes: These finishes primarily focus on enhancing the wood’s aesthetic appeal, often adding color, sheen, or texture. They can be used to highlight the wood’s natural grain, create a unique patina, or achieve a specific visual effect. Common examples include stains, paints, and waxes.
Comparing Finishing Techniques
Staining
Staining involves applying a colored solution to the wood’s surface, which penetrates the pores and alters its color without significantly changing its texture. Stains are typically used to enhance the wood’s natural grain, add depth and richness, or create a specific color effect.
- Water-based stains: These stains are typically easier to apply and clean up, but they may raise the wood’s grain, requiring sanding before applying a topcoat.
- Oil-based stains: These stains penetrate deeper into the wood and provide a richer, more durable finish, but they can be more difficult to apply and clean up.
- Gel stains: These stains are thicker and more viscous than water-based or oil-based stains, making them ideal for achieving a more even application and reducing the risk of blotching on porous woods.
Painting
Painting involves applying a solid layer of pigment to the wood’s surface, completely covering the wood’s natural grain and creating a uniform color. Paints offer a wide range of colors and finishes, allowing for a highly customizable aesthetic.
- Oil-based paints: These paints offer excellent durability, moisture resistance, and a smooth, hard finish. They are typically slow-drying and require solvents for cleanup.
- Latex paints: These paints are water-based, making them easier to apply and clean up. They offer good durability and a wide range of colors, but they may not be as moisture-resistant as oil-based paints.
Varnishing
Varnishing involves applying a transparent, protective coating to the wood’s surface, enhancing its natural beauty and providing a durable barrier against wear and tear. Varnishes are available in a variety of finishes, from matte to high gloss, and can be applied in multiple coats to achieve the desired level of protection and sheen.
- Polyurethane: A popular choice for its durability, moisture resistance, and ability to withstand heavy wear and tear. It’s available in both oil-based and water-based formulas.
- Lacquer: Offers a hard, durable finish with excellent clarity and gloss. It’s typically fast-drying and requires a well-ventilated workspace.
- Epoxy: A very durable, moisture-resistant finish that’s ideal for high-traffic areas or outdoor applications. It can be used to create a smooth, glass-like finish.
Suitability of Finishes for Different Wood Types
| Wood Type | Staining | Painting | Varnishing |
|---|---|---|---|
| Oak | Excellent | Good | Excellent |
| Maple | Good | Good | Excellent |
| Cherry | Excellent | Good | Excellent |
| Walnut | Excellent | Good | Excellent |
| Pine | Good | Good | Good |
| Cedar | Good | Good | Good |
| Redwood | Good | Good | Good |
Safety in the Workshop
Woodworking is a rewarding hobby and profession, but it can also be dangerous if safety precautions are not taken seriously. Working with power tools and sharp objects requires vigilance and awareness to prevent accidents. A safe workshop environment is essential for protecting yourself and others from potential hazards.
Common Safety Hazards in Woodworking
It is important to be aware of the common hazards present in a woodworking workshop. Understanding these hazards will help you take the necessary precautions to minimize risks.
- Power Tools: Power tools, such as saws, routers, and sanders, can cause serious injuries if used improperly. The rotating blades or spinning parts can cut, crush, or throw objects, posing a risk of lacerations, fractures, and eye injuries.
- Hand Tools: While hand tools may seem less dangerous, they can also cause injuries. Chisels, planes, and hammers can cause cuts, punctures, and bruises. Using these tools requires proper technique and care.
- Dust and Fumes: Woodworking generates dust and fumes, which can be harmful to your respiratory system. Dust from certain woods can also be allergenic or carcinogenic. It is crucial to use dust collection systems and wear respirators to protect yourself.
- Fire Hazards: Wood is flammable, and the use of power tools and machinery can create sparks and heat. Ensure proper ventilation, keep flammable materials away from heat sources, and have a fire extinguisher readily available.
- Lifting and Handling: Woodworking often involves lifting and handling heavy objects. Improper lifting techniques can lead to strains, sprains, and back injuries. Use proper lifting techniques and consider using lifting aids for heavy items.
Importance of Wearing Protective Gear
Wearing appropriate protective gear is crucial in woodworking to minimize the risk of injuries. Personal protective equipment (PPE) acts as a barrier between you and potential hazards, providing an extra layer of safety.
- Eye Protection: Always wear safety glasses or goggles when working with power tools or hand tools. These protect your eyes from flying debris, dust, and chemical splashes.
- Hearing Protection: Power tools can generate loud noises that can damage your hearing over time. Use earplugs or earmuffs to protect your hearing.
- Respiratory Protection: Wear a respirator or dust mask to protect your lungs from wood dust and fumes. Choose a respirator that is appropriate for the type of dust or fumes you are exposed to.
- Hand Protection: Gloves provide protection from cuts, splinters, and chemicals. Choose gloves that are appropriate for the task at hand.
- Foot Protection: Wear sturdy closed-toe shoes or boots to protect your feet from falling objects or sharp tools.
Safety Precautions to Follow
Following safety precautions in the workshop is essential for preventing accidents and ensuring a safe working environment.
- Keep the Workshop Clean and Organized: A cluttered workshop increases the risk of tripping, falling, and accidents. Keep tools and materials organized and clean up spills immediately.
- Use the Right Tools for the Job: Do not use tools for tasks they are not designed for. Use the appropriate tools and equipment for each task.
- Inspect Tools Before Use: Before using any tool, inspect it for damage or wear. Do not use tools that are damaged or in need of repair.
- Follow Manufacturer’s Instructions: Always read and follow the manufacturer’s instructions for all tools and equipment. Understand the operating procedures and safety features.
- Avoid Distractions: Do not work with power tools or sharp objects when you are tired or distracted. Focus on the task at hand and avoid distractions.
- Use Safety Guards: Use all safety guards provided with power tools. Never remove or disable safety guards.
- Keep Hands Away from Moving Parts: Never reach into moving parts of machinery. Wait for machines to come to a complete stop before making adjustments or cleaning.
- Use Clamps to Secure Workpieces: Always clamp workpieces securely before using power tools. This prevents the workpiece from moving or shifting during operation.
- Be Aware of Your Surroundings: Be aware of your surroundings and the people around you. Do not work in areas with obstacles or where others may be in the way.
- Use a First Aid Kit: Keep a well-stocked first aid kit in your workshop. Know how to use the contents of the kit and be prepared to provide basic first aid in case of an accident.
Woodworking Projects for Beginners
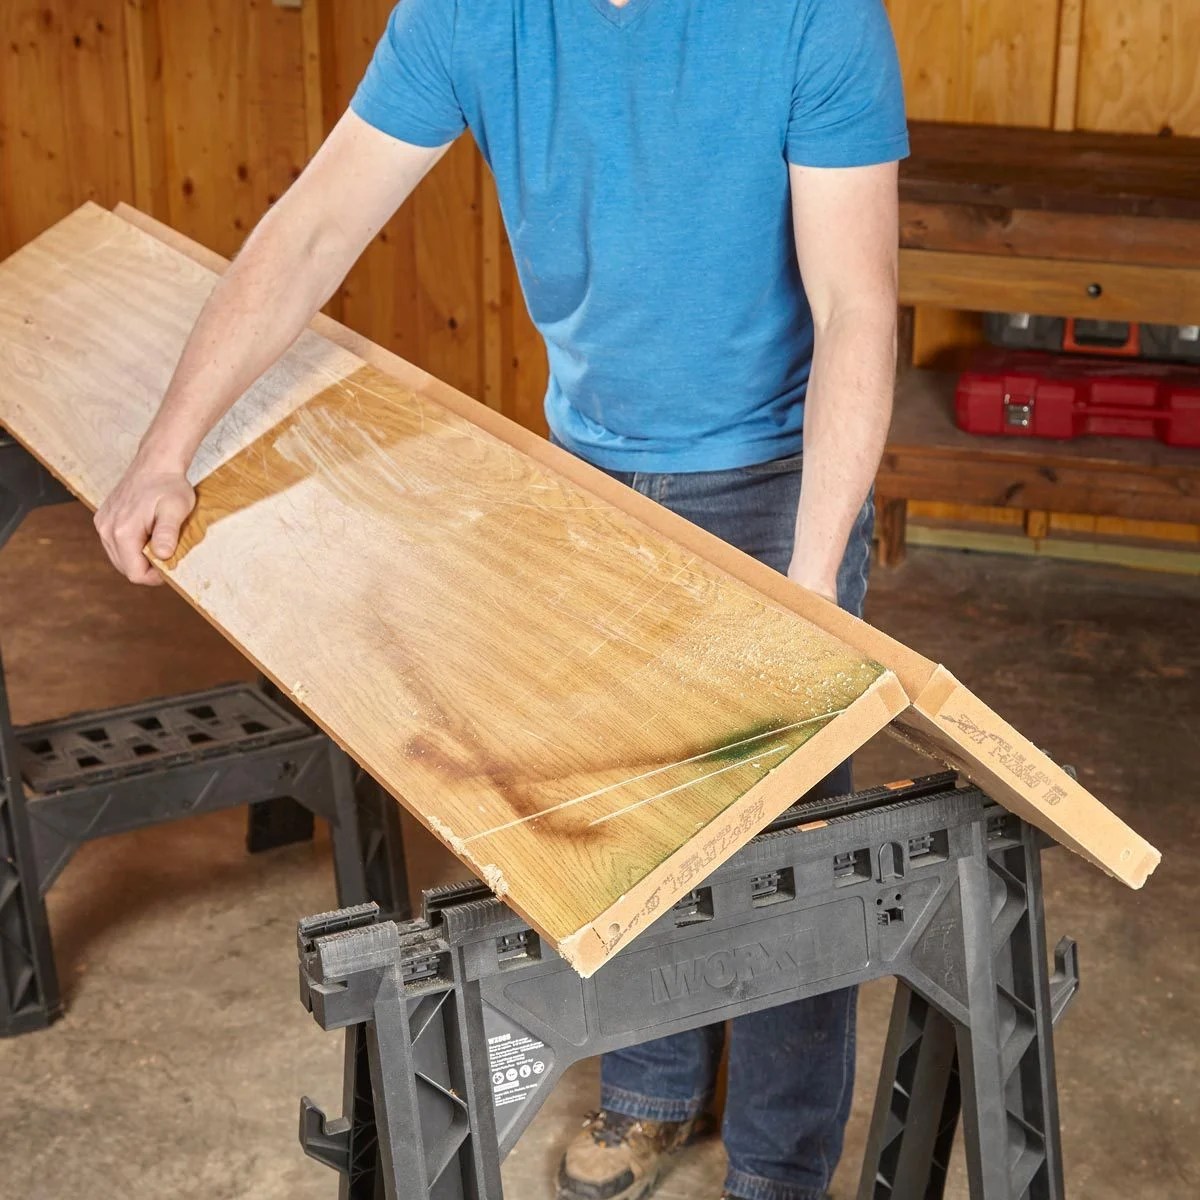
Starting your woodworking journey can be exciting, and there are many simple projects that are perfect for beginners. These projects will help you learn basic woodworking techniques, gain confidence, and create something useful or decorative for your home.
Simple Woodworking Projects
Here are some simple woodworking projects that are perfect for beginners:
- Cutting Board: A cutting board is a practical and essential kitchen tool. You can start with a simple rectangular shape and gradually move on to more intricate designs. The process involves cutting the wood to size, sanding it smooth, and applying a food-safe finish. You can choose from different types of wood, such as maple, cherry, or walnut, depending on your preference and budget.
- Wooden Coasters: Wooden coasters are a great way to protect your furniture from spills and add a touch of natural beauty to your home. You can create coasters in various shapes and sizes, using simple woodworking techniques like cutting, sanding, and applying a finish. You can personalize them with engravings or decorative elements.
- Birdhouse: Building a birdhouse is a fun and rewarding project that can attract birds to your garden. You can find various birdhouse designs online, ranging from simple to more elaborate. The project involves cutting, assembling, and painting the birdhouse. You can also add features like a perch, a roof overhang, and ventilation holes.
- Picture Frame: A picture frame is a classic woodworking project that allows you to showcase your favorite photographs or artwork. You can create a frame using simple tools and techniques. You can choose from various wood types, sizes, and styles, and customize it with decorative elements or a personalized inscription.
- Wooden Tray: A wooden tray is a versatile item that can be used for serving food, organizing items, or adding a decorative touch to your home. You can create a simple tray using plywood or hardwood, cutting it to size, and attaching handles. You can personalize it with a finish, decorative elements, or a personalized inscription.
Detailed Instructions for a Simple Cutting Board
This section will provide step-by-step instructions for creating a simple cutting board, a great starting project for beginners.
Materials
- Wood: Choose a hardwood like maple, cherry, or walnut. For a beginner, a pre-cut board from a lumberyard is recommended. Look for a board that is at least 12 inches long and 10 inches wide, and at least 1 inch thick.
- Wood Glue: Use a high-quality wood glue designed for woodworking projects.
- Sandpaper: Use a variety of grits, starting with 80 grit and progressing to 220 grit.
- Finish: Choose a food-safe finish like mineral oil, beeswax, or butcher block oil.
- Safety Glasses: Always wear safety glasses when working with woodworking tools.
- Dust Mask: Wear a dust mask to protect yourself from wood dust.
Tools
- Table Saw: For cutting the wood to size.
- Hand Saw: For making smaller cuts.
- Jointer: For creating a flat and smooth surface.
- Planer: For creating a consistent thickness.
- Sanding Block: For sanding the wood smooth.
- Clamps: For holding the wood in place while gluing.
- Measuring Tape: For accurate measurements.
- Pencil: For marking the wood.
Steps
- Cut the Wood: Cut the wood to your desired size. Ensure all edges are square and smooth.
- Sand the Wood: Sand the wood smooth, starting with 80 grit sandpaper and progressing to 220 grit. This removes any rough edges and creates a smooth surface for the finish.
- Apply the Finish: Apply the food-safe finish according to the manufacturer’s instructions. Allow the finish to dry completely before using the cutting board.
Inspiration and Resources
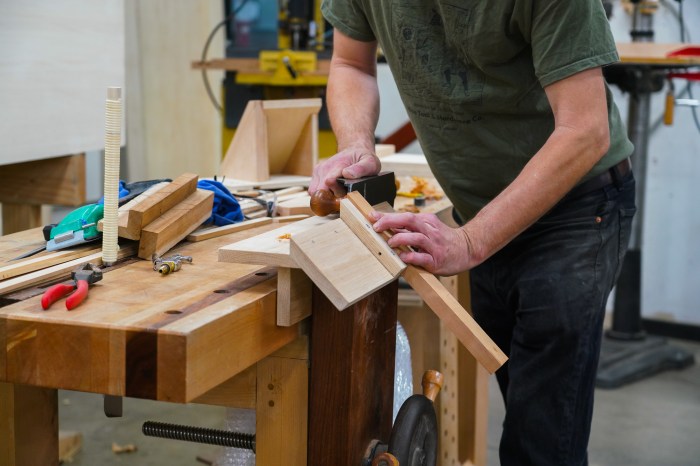
Woodworking is a craft that thrives on creativity and the sharing of knowledge. To fuel your passion and keep your skills sharp, it’s essential to tap into the wealth of inspiration and resources available. This section will guide you through the world of woodworking resources, from renowned woodworkers to online communities and workshops.
Renowned Woodworkers and Their Work
Knowing the work of masters in the field can inspire your own woodworking journey. Here are some prominent woodworkers and their contributions:
- Samuel Maloof: Known for his signature style of furniture, characterized by its organic forms, hand-carved details, and use of natural materials. His work is highly sought after and displayed in museums around the world.
- George Nakashima: A pioneer of modern woodworking, Nakashima embraced the beauty of natural wood, often incorporating live edges and unique grain patterns into his furniture designs. His work emphasizes the connection between humans and nature.
- Gustav Stickley: A prominent figure in the Arts and Crafts movement, Stickley championed simple, handcrafted furniture made from solid wood. His designs are known for their clean lines, functionalism, and emphasis on craftsmanship.
Websites, Blogs, and Forums
The internet is a treasure trove of woodworking knowledge. Websites, blogs, and forums offer a vast array of information, tutorials, and inspiration.
- Woodworking for Mere Mortals: This website, run by a dedicated woodworker, offers a wealth of free plans, tutorials, and advice for woodworkers of all levels. It’s a great place to learn about various woodworking techniques and find inspiration for your next project.
- Fine Woodworking: A renowned magazine and website, Fine Woodworking provides in-depth articles, project plans, and expert advice on a wide range of woodworking topics. It’s a valuable resource for both beginners and experienced woodworkers.
- The Wood Whisperer: This popular YouTube channel and website, hosted by Marc Spagnuolo, features a variety of woodworking tutorials, tips, and project ideas. Marc’s engaging personality and clear explanations make learning enjoyable.
Joining Woodworking Communities and Attending Workshops
Connecting with other woodworkers can be invaluable for learning, sharing, and finding inspiration.
- Local Woodworking Clubs: Joining a local woodworking club offers a great way to connect with other enthusiasts, share knowledge, and participate in workshops and demonstrations. You can find local clubs through online searches or by contacting your local community center.
- Online Woodworking Forums: Online forums provide a platform for woodworkers to discuss projects, ask questions, and share tips and advice. Popular woodworking forums include Lumberjocks and Woodworking Talk.
- Woodworking Workshops: Attending workshops taught by experienced woodworkers can provide hands-on learning and a chance to develop new skills. Workshops are often offered by local woodworking clubs, community colleges, and online platforms.
Ending Remarks
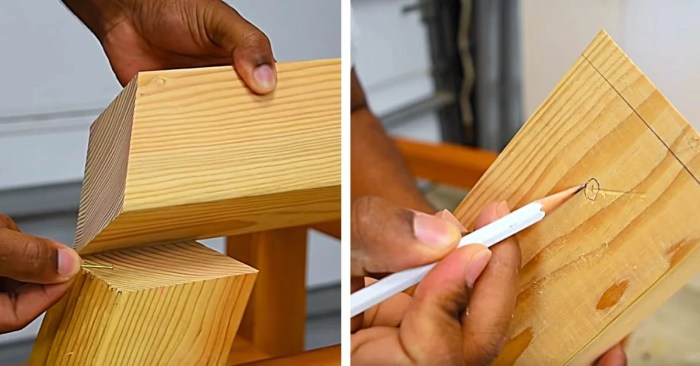
With a little patience, practice, and the right guidance, you can transform your woodworking aspirations into tangible creations. As you progress, remember to embrace the journey, learn from your mistakes, and celebrate each accomplishment. Happy woodworking!
Query Resolution
What are the best woods for beginners?
Softwoods like pine and fir are excellent choices for beginners due to their affordability and ease of working with. They’re also forgiving if you make mistakes.
What safety gear should I wear when woodworking?
Always wear safety glasses, a dust mask, and hearing protection. Depending on the task, you may also need gloves and a respirator.
Where can I find woodworking plans?
There are numerous online resources, books, and magazines that offer woodworking plans. You can also find inspiration on social media platforms and woodworking forums.
Woodworking tips can help you get the most out of your projects, but having the right tools is crucial. A good set of woodworking machines can make a huge difference in accuracy, efficiency, and overall quality. Don’t forget about safety precautions when using these machines – always wear appropriate safety gear and familiarize yourself with their operation before starting any project.
