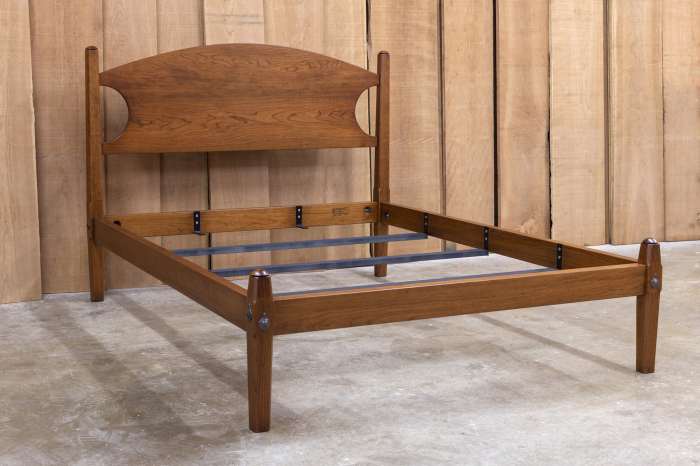
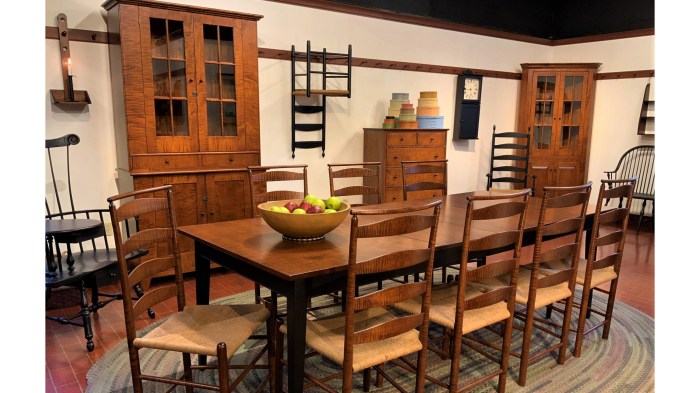
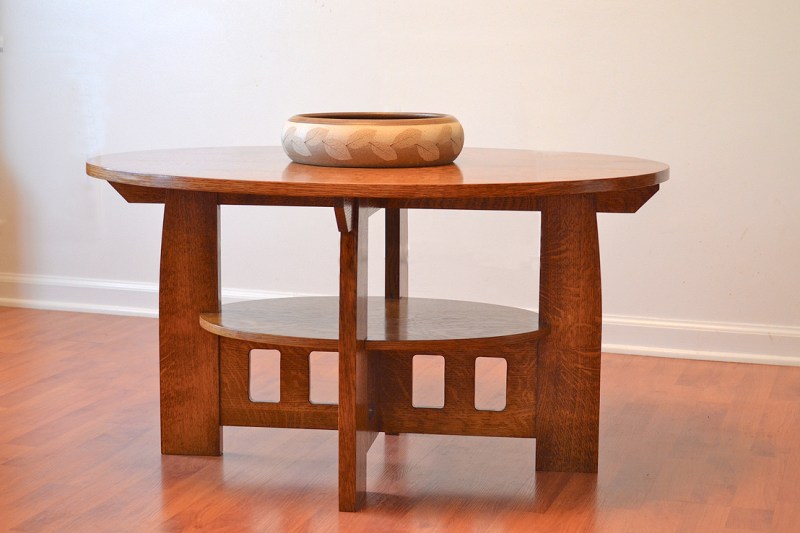
Shaker style furniture plans offer a unique blend of practicality and elegance, inviting you to craft timeless pieces that reflect the simplicity and craftsmanship of the Shaker tradition. This style, rooted in the 18th century, emphasizes functionality, durability, and clean lines, creating furniture that transcends trends and remains relevant for generations.
With Shaker style furniture plans, you can embark on a rewarding DIY journey, learning the techniques and principles behind this enduring aesthetic. Whether you’re a seasoned woodworker or a curious beginner, the straightforward designs and detailed instructions make it possible to build stunning Shaker furniture pieces that you’ll cherish for years to come.
Shaker Furniture Plans
Shaker furniture is known for its simple, functional, and elegant designs. It’s a popular choice for DIY enthusiasts who want to create beautiful and timeless pieces for their homes. If you’re interested in building your own Shaker furniture, you’ll need to find the right plans. This guide will help you navigate the world of Shaker furniture plans and find the perfect ones for your next project.
Types of Shaker Furniture Plans
Shaker furniture plans are available in a variety of formats, from simple line drawings to detailed blueprints. They can be found online, in books, and at woodworking stores.
Here’s a table outlining different types of Shaker furniture plans available:
| Plan Type | Skill Level Required | Materials Needed | Estimated Time for Completion |
|---|---|---|---|
| Simple Line Drawings | Beginner | Basic woodworking tools and materials | 1-2 days |
| Detailed Blueprints | Intermediate | Advanced woodworking tools and materials | 3-5 days |
| 3D Models | Advanced | Specialized woodworking tools and materials | 5-7 days |
Finding Reputable Resources for Shaker Furniture Plans
Finding reliable and detailed Shaker furniture plans is crucial for a successful project. Several reputable resources offer a variety of plans for different skill levels.
Here are some places to start your search:
- Online Resources:
- Shaker Workshops: This website offers a wide selection of free and paid Shaker furniture plans. You can find plans for everything from simple chairs to elaborate cabinets.
- Woodworking Plans: This website provides a collection of Shaker furniture plans, including detailed instructions and cutting lists.
- Etsy: Etsy is a great place to find handmade Shaker furniture plans from independent creators.
- Books:
- “The Shaker Furniture Book” by Robert M. Judson: This comprehensive book features detailed plans and historical information about Shaker furniture.
- “Shaker Furniture: The Complete Guide to Design, Construction, and Finishing” by Edward L. Bolles: This book provides detailed instructions and plans for building a variety of Shaker furniture pieces.
- Woodworking Stores:
- Rockler Woodworking and Hardware: Rockler offers a variety of Shaker furniture plans, both online and in their stores.
- Woodcraft: Woodcraft is another great resource for Shaker furniture plans, with a wide selection of plans and materials.
Materials and Tools for Shaker Furniture Projects
Shaker furniture is renowned for its simple, functional designs and high-quality craftsmanship. To recreate these timeless pieces, you’ll need to select the right materials and tools. This section will guide you through the essentials for your Shaker furniture projects, covering both the materials and the tools you’ll need to bring your designs to life.
Materials for Shaker Furniture
The choice of materials plays a crucial role in achieving the authentic look and feel of Shaker furniture. The following table highlights the commonly used materials, focusing on wood types, finishes, and hardware:
| Material Type | Examples | Characteristics | Uses in Shaker Furniture |
|---|---|---|---|
| Wood | Cherry, Maple, Pine, Walnut | Durability, Grain patterns, Workability | Cabinetry, Tables, Chairs, Beds |
| Finishes | Oil-based Polyurethane, Shellac, Tung Oil | Protection, Aesthetics, Durability | Protecting wood surfaces, enhancing natural grain |
| Hardware | Brass hinges, Wooden knobs, Pegged joints | Functionality, Aesthetics, Durability | Doors, drawers, joinery |
Essential Tools for Shaker Furniture Construction
A well-equipped workshop is essential for successful Shaker furniture projects. Here’s a list of essential tools, categorized by function:
Hand Tools
- Hand Planes: Smoothing and shaping wood surfaces.
- Chisels: Shaping and carving wood.
- Saws: Cutting wood to size (e.g., handsaw, backsaw, coping saw).
- Screwdrivers: Fastening screws and driving nails.
- Mallet: Driving chisels and striking wood.
- Clamps: Holding wood pieces together during assembly.
- Measuring tools: Tape measure, ruler, try square, compass.
- Marking tools: Pencil, marking gauge, scriber.
Power Tools
- Power Drill: Drilling holes for screws and fasteners.
- Router: Shaping edges, creating grooves, and cutting profiles.
- Sander: Smoothing and finishing wood surfaces.
- Table Saw: Making precise cuts on wood.
- Jointer: Flattening and smoothing wood surfaces.
- Planer: Reducing wood thickness to a uniform dimension.
Tips for Selecting and Sourcing High-Quality Materials and Tools
- Choose reputable suppliers: Ensure you are purchasing from reliable sources that offer high-quality materials and tools.
- Inspect materials carefully: Examine wood for knots, cracks, and other defects. Check for signs of damage or wear on tools.
- Consider your budget: Balance quality with affordability. Invest in essential tools and materials that will serve you well over time.
- Research different brands: Compare features, quality, and pricing of different brands to find the best value for your needs.
- Seek advice from experienced woodworkers: Consult with experienced woodworkers for recommendations on specific materials and tools.
Building Shaker Furniture
Building Shaker furniture is a rewarding experience that allows you to create beautiful and functional pieces for your home. The simplicity of Shaker designs makes them relatively easy to build, even for beginners. This step-by-step guide will walk you through the process of building a Shaker stool, providing detailed instructions, tips, and troubleshooting advice along the way.
Choosing a Plan
Choosing the right plan is crucial for a successful project. There are many free and paid plans available online and in books. Consider the complexity of the design, the materials required, and your own skill level when selecting a plan. For our stool project, we’ll be using a simple, classic Shaker stool design with four legs and a seat.
Gathering Materials and Tools
Before you begin, gather all the necessary materials and tools. Here’s a list for our Shaker stool project:
- Wood: 1×4 boards for the legs and seat (consider using hardwood like maple or cherry for durability and aesthetics)
- Wood glue
- Screws: 1 1/4″ wood screws for assembling the legs to the seat
- Sandpaper: Various grits for smoothing the wood
- Finish: Wood stain or paint (optional)
- Measuring tape
- Pencil
- Saw (hand saw or circular saw)
- Drill with drill bits
- Clamps
- Screwdriver
- Safety glasses
- Work gloves
Cutting the Wood
The first step is to cut the wood to the dimensions specified in your plan. Use a saw to cut the legs and seat to the desired length and width.
Remember to account for the thickness of the wood when measuring and cutting.
Assembling the Legs
Once the wood is cut, you can begin assembling the legs. You’ll need to cut the legs to the desired length and use a drill to create pilot holes for the screws. Next, align the legs and use wood glue and screws to attach them to the seat.
Make sure the legs are square and evenly spaced before securing them.
Sanding and Finishing, Shaker style furniture plans
After the glue has dried, sand the stool to remove any rough edges or imperfections. Start with a coarse grit sandpaper and gradually progress to finer grits for a smooth finish. If you choose to stain or paint the stool, apply the finish according to the manufacturer’s instructions.
Always sand in the direction of the wood grain for a better finish.
Troubleshooting
Here are some common challenges you might encounter while building your Shaker stool:
- Uneven legs: This can be caused by inaccurate cutting or assembly. Use a level to check the legs and adjust them accordingly.
- Loose joints: This can be caused by insufficient glue or screws. Use additional glue or screws to secure the joints.
- Cracked wood: This can be caused by improper cutting or handling. Use a wood filler to repair any cracks.
Finishing and Maintaining Shaker Furniture

Shaker furniture is renowned for its simple elegance and enduring quality. Achieving that timeless appeal requires careful finishing techniques and consistent maintenance. This section delves into the art of finishing and preserving Shaker furniture, ensuring its beauty and functionality for generations to come.
Sanding
Sanding is the foundation of any successful furniture finish. It prepares the wood surface for staining and sealing, creating a smooth and even base for the final coat. Sanding involves using progressively finer grit sandpaper to remove imperfections and create a uniform texture.
- Start with a coarse grit sandpaper (80-120 grit) to remove any major scratches or imperfections.
- Gradually transition to finer grits (150-220 grit) to smooth out the surface and eliminate sanding marks from the previous grit.
- Finish with a very fine grit sandpaper (220-400 grit) to achieve a polished and consistent finish.
Staining
Staining enhances the natural beauty of wood by adding color and depth. Shaker furniture often features a simple, natural stain that complements the wood’s grain pattern.
- Water-based stains are generally easier to apply and clean up, while oil-based stains offer deeper penetration and a richer finish.
- Apply stain evenly using a brush, cloth, or sponge, following the wood grain direction.
- Wipe off excess stain after the recommended drying time, ensuring an even color.
Applying Protective Coatings
Protective coatings seal the wood, safeguarding it from moisture, scratches, and stains.
- Polyurethane is a durable and popular choice for Shaker furniture, offering excellent protection and a clear, glossy finish.
- Lacquer provides a hard, durable finish with a high gloss, but it can be more difficult to apply.
- Wax offers a natural and protective finish, enhancing the wood’s texture and patina.
Maintaining Shaker Furniture
Regular maintenance is crucial for preserving the beauty and longevity of Shaker furniture.
- Dust regularly with a soft cloth or feather duster.
- Clean spills promptly using a mild soap solution and a soft cloth.
- Avoid using harsh chemicals or abrasive cleaners that can damage the finish.
- Apply a fresh coat of wax or sealant every few years to maintain the protective layer.
Restoring and Repairing Damaged Shaker Furniture
Over time, Shaker furniture may require restoration or repair to address minor scratches, dents, or worn finishes.
- Minor scratches can be repaired using a wood filler or touch-up paint.
- Dents can be filled with wood putty or a specialized wood repair kit.
- Worn finishes can be refinished by sanding and applying a new coat of stain and sealant.
Closing Notes

From the initial planning stages to the final finishing touches, crafting Shaker style furniture is a journey of discovery and skill development. By embracing the core principles of simplicity, functionality, and durability, you’ll not only create beautiful pieces for your home but also connect with a rich history of craftsmanship that continues to inspire generations.
Top FAQs: Shaker Style Furniture Plans
What is the difference between Shaker and Shaker-style furniture?
Shaker furniture refers to pieces actually made by the Shaker community, while Shaker-style furniture emulates the design principles and aesthetics but may not be crafted by Shakers.
Where can I find good quality Shaker furniture plans?
There are many online resources and books dedicated to Shaker furniture plans. Look for reputable sources that offer detailed instructions, diagrams, and materials lists.
What are some essential tools for Shaker furniture projects?
Basic woodworking tools like saws, chisels, planes, and clamps are essential. Depending on the project, you may also need power tools like a drill, sander, and router.
Shaker style furniture plans are a great place to start if you’re new to woodworking. They’re known for their simple, elegant designs, and often feature straightforward joinery techniques. If you’re looking for some inspiration, check out these woodworking building plans , which include a variety of shaker style furniture projects.
You’ll find plans for everything from simple stools to more complex pieces like tables and chairs. Once you’ve got a few projects under your belt, you can start experimenting with more intricate designs and techniques.
