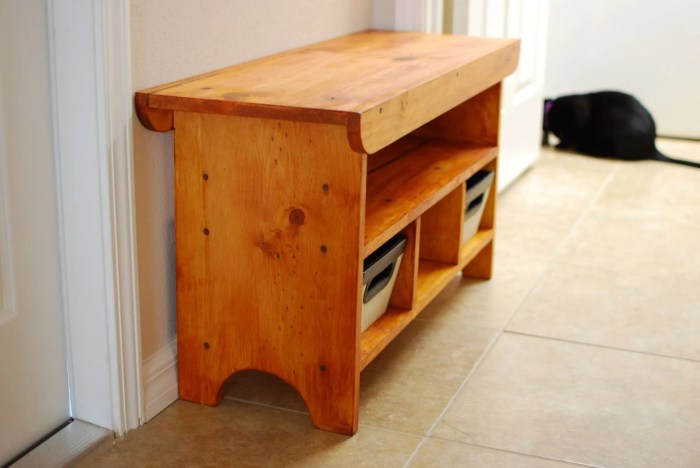
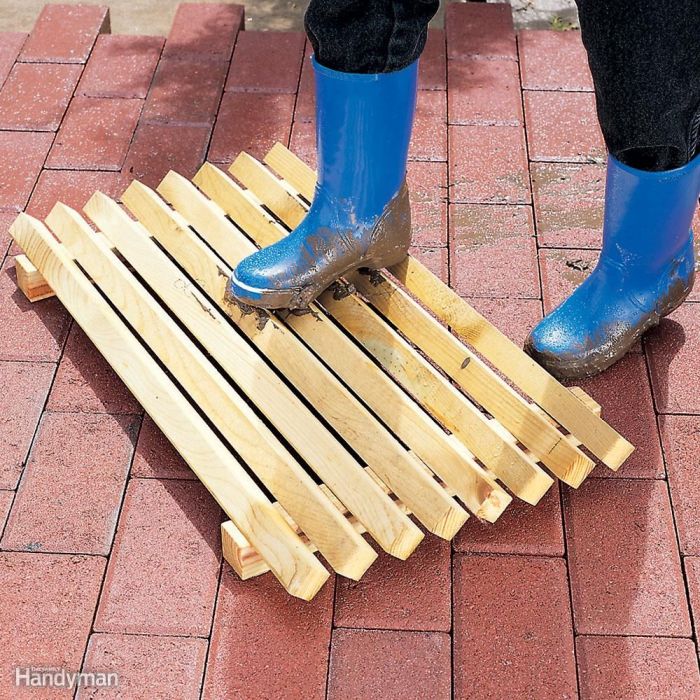
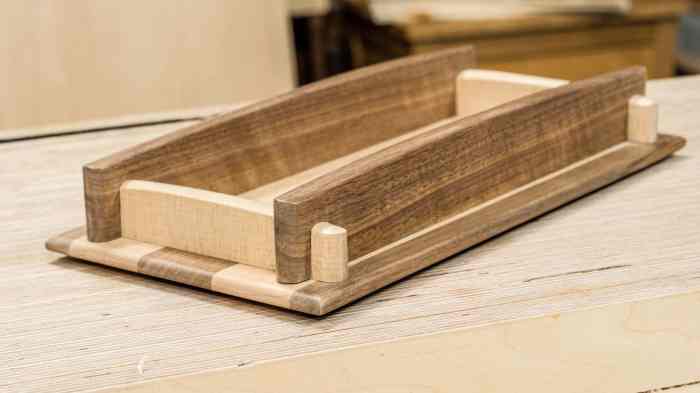
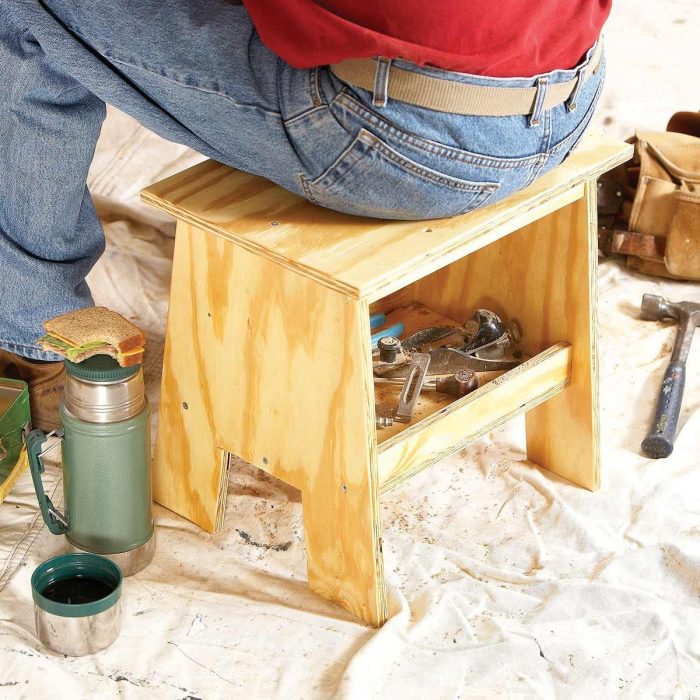
Beginner woodwork projects are a fantastic way to unleash your creativity and learn valuable skills. Whether you’re drawn to the satisfaction of crafting something with your own hands or simply want to add a personal touch to your home, woodworking offers a rewarding and enjoyable experience.
This guide will take you through the fundamentals of woodworking, from selecting the right tools and materials to mastering basic techniques. You’ll discover a variety of beginner-friendly projects, starting with simple ones like a birdhouse and gradually progressing to more complex pieces like a small table or stool.
Beginner Woodworking Basics

Woodworking is a rewarding hobby that allows you to create beautiful and functional pieces with your own hands. Whether you’re building furniture, crafting decorative items, or tackling home repairs, understanding the basics of woodworking is essential. This guide will provide you with the foundational knowledge and skills to embark on your woodworking journey.
Essential Tools
A well-equipped workshop is crucial for any woodworking project. Here are some essential tools for beginners:
- Measuring Tape: Accurate measurements are fundamental in woodworking. A tape measure allows you to precisely determine the dimensions of your materials and ensure your project fits together correctly.
- Hand Saw: A hand saw is used for cutting wood to length and shaping it. It’s important to use a saw with the appropriate blade for the type of wood you’re working with.
- Hammer: A hammer is used for driving nails and other fasteners. Choose a hammer with a comfortable grip and a weight that suits your strength.
- Screwdriver: A screwdriver is used for tightening and loosening screws. You’ll need both a Phillips head and a flathead screwdriver.
- Clamps: Clamps are used to hold pieces of wood together while you work. They provide stability and prevent movement during cutting, gluing, or assembling.
- Sandpaper: Sandpaper is used to smooth the surface of wood and remove imperfections. Different grit levels are used for different tasks, with finer grits providing a smoother finish.
- Safety Glasses: Safety glasses protect your eyes from flying debris and sawdust. Always wear safety glasses when working with woodworking tools.
- Ear Protection: Woodworking tools can generate loud noise. Ear protection, such as earplugs or earmuffs, is essential to protect your hearing.
- Dust Mask: A dust mask protects you from inhaling wood dust, which can be harmful to your respiratory system. Always wear a dust mask when sanding or cutting wood.
Selecting the Right Wood
Choosing the right wood for your project is crucial for both aesthetics and functionality. Here are some factors to consider:
- Hardness: Wood hardness is measured on the Janka scale, which indicates the resistance of the wood to denting and scratching. Hardwoods, such as oak and maple, are durable and suitable for furniture and flooring. Softwoods, such as pine and cedar, are easier to work with but may not be as strong.
- Grain Pattern: The grain pattern of wood refers to the arrangement of the wood fibers. Different wood species have unique grain patterns that contribute to their aesthetic appeal. Straight grain is typically easier to work with, while figured grain, such as curly maple, can be more challenging but visually striking.
- Availability: The availability of wood varies depending on your location. Consider the ease of obtaining the desired wood species and its cost.
Basic Woodworking Techniques
Mastering these fundamental techniques will allow you to create a wide range of woodworking projects:
- Measuring: Accurate measurements are the foundation of any woodworking project. Use a tape measure to determine the dimensions of your materials and mark them precisely with a pencil or marking gauge.
- Cutting: Hand saws and power saws are used to cut wood to length and shape. Ensure the saw blade is sharp and use a cutting guide to maintain accuracy.
- Sanding: Sanding is used to smooth the surface of wood and remove imperfections. Start with coarser grit sandpaper and progressively move to finer grits for a smoother finish.
- Finishing: Finishing adds protection and enhances the appearance of your woodworking project. Common finishes include paint, stain, varnish, and oil.
Simple Woodworking Projects for Beginners

This section provides a curated selection of beginner-friendly woodworking projects, starting with straightforward tasks and gradually progressing to slightly more challenging ones. Each project is designed to help you gain confidence and build your woodworking skills progressively.
Simple Shelf
Building a simple shelf is a great introductory woodworking project. It requires minimal tools and materials, making it ideal for beginners. The project involves basic cuts, assembly, and finishing techniques, which are essential for any woodworking project.
Here’s a detailed breakdown of the project:
Materials
- Wood boards (pine, oak, or maple) – 1×6, 1×8, or 1×10
- Wood glue
- Wood screws (1 1/4″ or 1 1/2″)
- Sandpaper (80 grit, 120 grit, 220 grit)
- Wood stain or paint (optional)
Cutting Diagram
The cutting diagram for a simple shelf is straightforward. It involves cutting the wood boards to the desired length for the shelf and supports. The shelf boards should be longer than the supports to create an overhang. The supports should be cut to the desired height of the shelf.
Assembly
- Cut the wood boards to the desired lengths using a saw.
- Sand the edges of the boards to smooth out any rough edges.
- Apply wood glue to the ends of the support boards and attach them to the underside of the shelf board, ensuring they are flush.
- Secure the support boards to the shelf board using wood screws.
- Sand the entire shelf, including the supports, to create a smooth surface.
- Apply wood stain or paint to the shelf (optional).
Birdhouse
A birdhouse is a slightly more complex project, involving more intricate cuts and assembly. This project helps you learn about joining techniques and creating decorative elements.
Materials
- Wood boards (pine, cedar, or redwood) – 1×6, 1×8, or 1×10
- Wood glue
- Wood screws (1 1/4″ or 1 1/2″)
- Sandpaper (80 grit, 120 grit, 220 grit)
- Small hinges (optional)
- Wood stain or paint (optional)
Cutting Diagram
The cutting diagram for a birdhouse includes cutting the wood boards for the base, roof, sides, and front panel. The front panel should have a circular opening for the birds to enter. The roof can be a simple gable or a more intricate design.
Assembly
- Cut the wood boards to the desired lengths and shapes using a saw.
- Sand the edges of the boards to smooth out any rough edges.
- Assemble the base and sides of the birdhouse using wood glue and screws.
- Attach the front panel to the base and sides, making sure the circular opening is aligned correctly.
- Create the roof and attach it to the sides using hinges (optional) for a removable roof.
- Sand the entire birdhouse, including the roof, to create a smooth surface.
- Apply wood stain or paint to the birdhouse (optional).
Small Table
Building a small table is a more advanced project, requiring more precise cuts and assembly. This project helps you learn about using joinery techniques and creating sturdy structures.
Materials
- Wood boards (pine, oak, or maple) – 1×6, 1×8, or 1×10
- Wood glue
- Wood screws (1 1/4″ or 1 1/2″)
- Sandpaper (80 grit, 120 grit, 220 grit)
- Wood stain or paint (optional)
- Finishing nails (optional)
Cutting Diagram
The cutting diagram for a small table includes cutting the wood boards for the table top, legs, and apron. The legs can be straight or tapered, and the apron can be simple or decorative.
Assembly
- Cut the wood boards to the desired lengths and shapes using a saw.
- Sand the edges of the boards to smooth out any rough edges.
- Assemble the table top using wood glue and screws, ensuring it is flat and stable.
- Attach the legs to the table top using wood glue and screws, ensuring they are securely fastened and evenly spaced.
- Create the apron and attach it to the legs using wood glue and screws or finishing nails, providing additional support and stability to the table.
- Sand the entire table, including the legs and apron, to create a smooth surface.
- Apply wood stain or paint to the table (optional).
Essential Tips for Successful Woodworking

Woodworking is a rewarding hobby and a valuable skill. It involves transforming raw materials into beautiful and functional objects. While woodworking can be enjoyable, it’s essential to approach it with the right mindset and techniques to ensure success.
Planning and Designing Woodworking Projects
Planning and designing are crucial steps in any woodworking project. A well-thought-out plan helps you avoid mistakes, optimize material usage, and ensure the final product meets your expectations.
- Define the project’s purpose and intended use: Before starting, clearly define what you want to build and how you plan to use it. This helps determine the necessary materials, dimensions, and construction techniques.
- Sketch or create a digital design: Visualizing the project before building it is essential. You can sketch your design on paper or use computer-aided design (CAD) software to create detailed plans. This allows you to experiment with different ideas and make adjustments before committing to the actual build.
- Create a detailed materials list: Based on your design, create a list of all the materials you need, including wood types, sizes, hardware, and finishing products. This helps you avoid unnecessary trips to the lumberyard and ensures you have everything on hand when you start building.
- Break down the project into manageable steps: Complex projects can seem overwhelming. Breaking them down into smaller, more manageable steps makes the process less intimidating and allows you to focus on each stage individually. This helps prevent errors and ensures you progress smoothly.
Using Woodworking Tools and Equipment
Using woodworking tools and equipment safely and effectively is essential for achieving successful results. It’s important to understand the proper techniques and safety precautions associated with each tool.
- Always wear appropriate safety gear: This includes safety glasses, ear protection, and dust masks. Safety glasses protect your eyes from flying debris, ear protection reduces noise levels, and dust masks prevent inhaling harmful wood dust.
- Inspect tools before use: Make sure all tools are in good working condition, free of damage, and properly sharpened. Dull tools can cause more force to be applied, increasing the risk of injury.
- Use the right tool for the job: Choosing the appropriate tool for each task is crucial for safety and efficiency. Using the wrong tool can lead to damage, injury, and inaccurate results.
- Follow manufacturer instructions: Always read and understand the manufacturer’s instructions for each tool before using it. This ensures you operate it correctly and safely.
- Maintain a clean and organized workspace: A clean and organized workspace reduces the risk of accidents and improves efficiency. Keep tools and materials in their designated areas, and clear away any debris as you work.
Achieving Clean Cuts, Accurate Measurements, and Smooth Finishes
Precise cuts, accurate measurements, and smooth finishes are key elements of successful woodworking. These techniques ensure your project looks professional and functions correctly.
- Use a sharp blade: A sharp blade makes clean, precise cuts and reduces the risk of splintering. Dull blades require more force, which can lead to inaccurate cuts and damage to the wood.
- Make test cuts: Before making a final cut, it’s a good idea to make a test cut on a scrap piece of wood. This helps ensure the blade is set correctly and allows you to adjust the cutting depth or angle if needed.
- Measure twice, cut once: This adage is crucial in woodworking. Double-checking your measurements before making a cut can prevent costly mistakes and rework.
- Use a marking gauge: A marking gauge helps you transfer measurements accurately from your ruler to the wood. This ensures consistent and precise marking for your cuts.
- Sanding for smooth finishes: Sanding is essential for achieving smooth and even surfaces. Start with coarse grit sandpaper to remove rough edges and gradually progress to finer grits for a polished finish.
Exploring Woodworking Techniques: Beginner Woodwork Projects

Now that you’ve got a grasp of the basics, let’s dive into some of the more advanced techniques that will help you create truly impressive woodworking projects.
Woodworking Joints
Understanding different woodworking joints is essential for creating strong and durable pieces. Each joint serves a specific purpose and is ideal for different applications. Here’s a table outlining some common woodworking joints:
| Joint Type | Description | Applications | Example Projects |
|---|---|---|---|
| Butt Joint | Simplest joint, two pieces of wood joined end-to-end. | Good for basic construction, but not very strong. | Simple shelves, picture frames. |
| Dado Joint | A groove cut into one piece of wood to receive the end of another piece. | Stronger than a butt joint, good for shelf construction. | Bookshelves, cabinets. |
| Mortise and Tenon Joint | A tenon (projection) is cut on one piece of wood and fits into a mortise (hole) cut in the other. | Very strong, used for furniture and structural applications. | Tables, chairs, doors. |
| Dovetail Joint | Interlocking, tapered pins and slots that create a strong, visually appealing joint. | Used for drawers, boxes, and furniture where strength and aesthetics are important. | Drawers, chests, fine furniture. |
| Lap Joint | One piece of wood overlaps another, creating a flush surface. | Good for joining pieces at right angles, used for furniture and cabinet making. | Cabinet doors, table legs. |
Wood Finishing Techniques
Wood finishing techniques protect and enhance the beauty of your woodworking projects. Different techniques offer varying levels of protection, durability, and aesthetic appeal. Here are some popular options:
Staining
Staining adds color and depth to wood without obscuring its natural grain. It penetrates the wood, enhancing its beauty and creating a natural finish.
Advantages:
* Enhances the natural beauty of wood.
* Allows the grain to show through.
* Provides a natural look.
Disadvantages:
* Not as durable as paint or varnish.
* Can be difficult to apply evenly.
Painting
Painting provides a durable, opaque finish that hides the wood’s natural grain and color. It offers excellent protection against moisture, scratches, and UV damage.
Advantages:
* Durable and protective.
* Offers a wide range of colors and finishes.
* Easy to apply and clean up.
Disadvantages:
* Hides the natural beauty of wood.
* Can chip or peel over time.
Varnishing
Varnishing provides a clear, protective coating that enhances the wood’s natural beauty while offering durability and moisture resistance.
Advantages:
* Protects the wood from scratches, moisture, and UV damage.
* Enhances the natural beauty of wood.
* Available in various finishes, from gloss to matte.
Disadvantages:
* Can be difficult to apply evenly.
* May yellow over time, especially in direct sunlight.
Common Woodworking Mistakes
Even experienced woodworkers make mistakes. Learning from these mistakes can help you avoid them in the future and improve your woodworking skills. Here are some common mistakes and how to avoid them:
Using Dull Tools
Dull tools can lead to uneven cuts, splintering, and frustration.
How to avoid:
* Regularly sharpen your tools using a sharpening steel, honing guide, or sharpening stones.
* Invest in high-quality tools that hold their edge longer.
Illustration:
Imagine trying to cut a piece of wood with a dull knife. You’ll struggle to make a clean cut, and the wood might splinter.
Incorrect Measuring
Inaccurate measurements can lead to misaligned pieces, gaps, and a poorly finished project.
How to avoid:
* Use a measuring tape, ruler, or combination square for accurate measurements.
* Double-check your measurements before cutting.
* Consider using a marking gauge to transfer measurements accurately.
Illustration:
Imagine building a shelf with inaccurate measurements. The shelves might not fit properly, leaving gaps or misalignments.
Ignoring Safety Precautions
Woodworking can be dangerous if safety precautions are not followed.
How to avoid:
* Wear safety glasses to protect your eyes from flying debris.
* Use hearing protection when working with loud machinery.
* Avoid loose clothing and jewelry that could get caught in machinery.
* Always unplug power tools before making adjustments or changing blades.
Illustration:
Imagine not wearing safety glasses while using a power saw. A piece of wood could fly off and injure your eye.
Woodworking Inspiration and Resources
Getting started with woodworking can be exciting, but it’s also easy to feel overwhelmed by the vast possibilities. To spark your creativity and guide your learning journey, let’s explore some inspiring woodworking projects and resources that can help you build your skills.
Inspiring Woodworking Projects, Beginner woodwork projects
Finding projects that inspire you is a great way to jumpstart your woodworking journey. Here are some examples of beginner-friendly projects from various sources:
- Simple Wooden Boxes: These projects are great for practicing basic woodworking techniques like cutting, joining, and finishing. You can find numerous designs online, from simple storage boxes to more elaborate jewelry boxes. Many tutorials offer step-by-step instructions and helpful tips for beginners.
- Wooden Cutting Boards: These are practical and visually appealing projects that can be customized with different wood types and designs. Many online resources provide plans and tutorials for creating cutting boards of various sizes and shapes.
- Wooden Shelves: Shelves are a versatile project that can be used in various areas of your home. Simple designs often involve basic cuts and joinery, while more complex designs can challenge your skills and creativity. There are countless tutorials and plans available online to help you build shelves that fit your style and needs.
Online Woodworking Communities
Connecting with other woodworkers can be a valuable resource for learning, sharing, and getting inspiration. Online communities and forums offer a platform for beginners to ask questions, share their projects, and receive feedback from experienced woodworkers.
- Reddit: The r/woodworking subreddit is a popular online community with a large and active group of woodworkers. You can find discussions on various woodworking topics, project ideas, and helpful advice.
- Woodworking Forums: Websites like LumberJocks and WoodworkingTalk host dedicated forums where woodworkers can connect and share their projects, ask questions, and participate in discussions.
- Social Media: Platforms like Instagram and Facebook have numerous woodworking groups and pages where you can find inspiration, connect with other woodworkers, and learn about new techniques and tools.
Recommended Woodworking Resources
There are numerous resources available to help you learn and grow as a woodworker. Here are some recommended books, websites, and videos:
Books
- “The Complete Illustrated Guide to Woodworking” by Editors of Creative Publishing: This comprehensive book covers a wide range of woodworking topics, from basic techniques to advanced projects.
- “Woodworking for Dummies” by Jeff Strong: This beginner-friendly book provides clear and concise instructions on essential woodworking techniques and projects.
- “The Anarchist’s Design Book” by Christopher Schwarz: This book offers a unique perspective on woodworking design, focusing on simplicity and functionality.
Websites
- Woodworking for Mere Mortals: This website offers a wealth of information on woodworking techniques, projects, and resources for beginners.
- Popular Woodworking Magazine: This website provides articles, videos, and plans for a wide range of woodworking projects.
- Fine Woodworking Magazine: This website offers in-depth articles and projects for woodworkers of all skill levels.
Videos
- YouTube: YouTube is a treasure trove of woodworking videos, with tutorials for every skill level and project type. Many channels, such as “The Wood Whisperer” and “Steve Ramsey,” offer detailed instructions and tips for beginners.
- Skillshare: This online learning platform offers courses on various woodworking topics, from basic techniques to advanced joinery.
- Udemy: Udemy offers a wide range of woodworking courses taught by experienced instructors.
Ultimate Conclusion
With a little patience, practice, and the right guidance, you’ll be amazed at what you can create with your own hands. So, grab your tools, choose a project that excites you, and embark on your woodworking journey. Remember, the most important thing is to enjoy the process and have fun exploring the world of woodworking.
Quick FAQs
What are the essential tools for beginner woodworking?
Basic tools include a hand saw, measuring tape, hammer, screwdriver, chisel, and sandpaper. You’ll also need safety gear like safety glasses and gloves.
What kind of wood should I use for my first project?
Softwoods like pine or fir are easy to work with for beginners. They’re readily available and affordable.
How do I get started with woodworking?
Start with a simple project like a birdhouse or a shelf. There are many online resources and books available to guide you.
What are some common woodworking mistakes to avoid?
Avoid rushing the process, making inaccurate measurements, and using dull tools. Practice patience and attention to detail.
Starting with beginner woodwork projects is a great way to get into the craft. You can learn basic techniques like cutting, sanding, and finishing while creating simple but useful items. If you want to take your woodworking to the next level, consider using woodworking software to help you design and plan your projects.
This software can help you visualize your ideas and create precise cuts, making your woodworking projects even more enjoyable.
