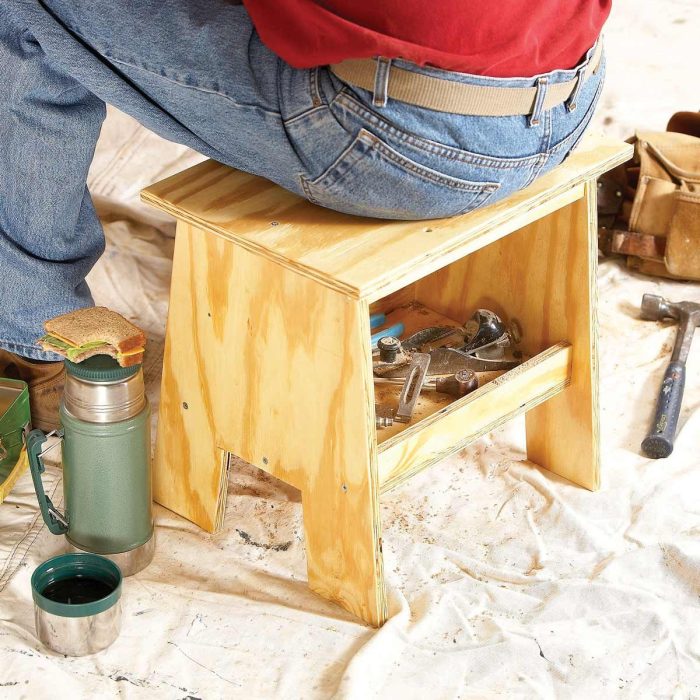
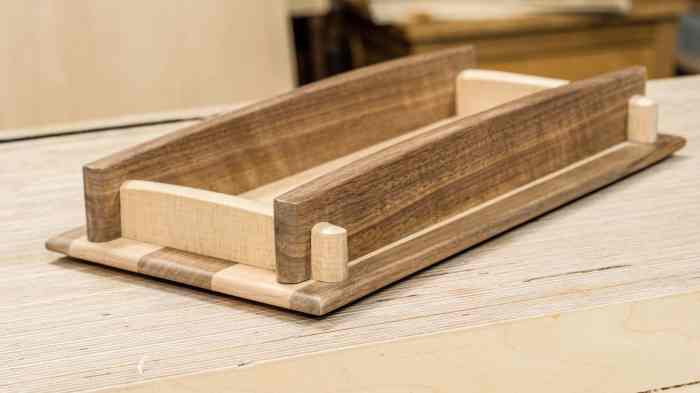
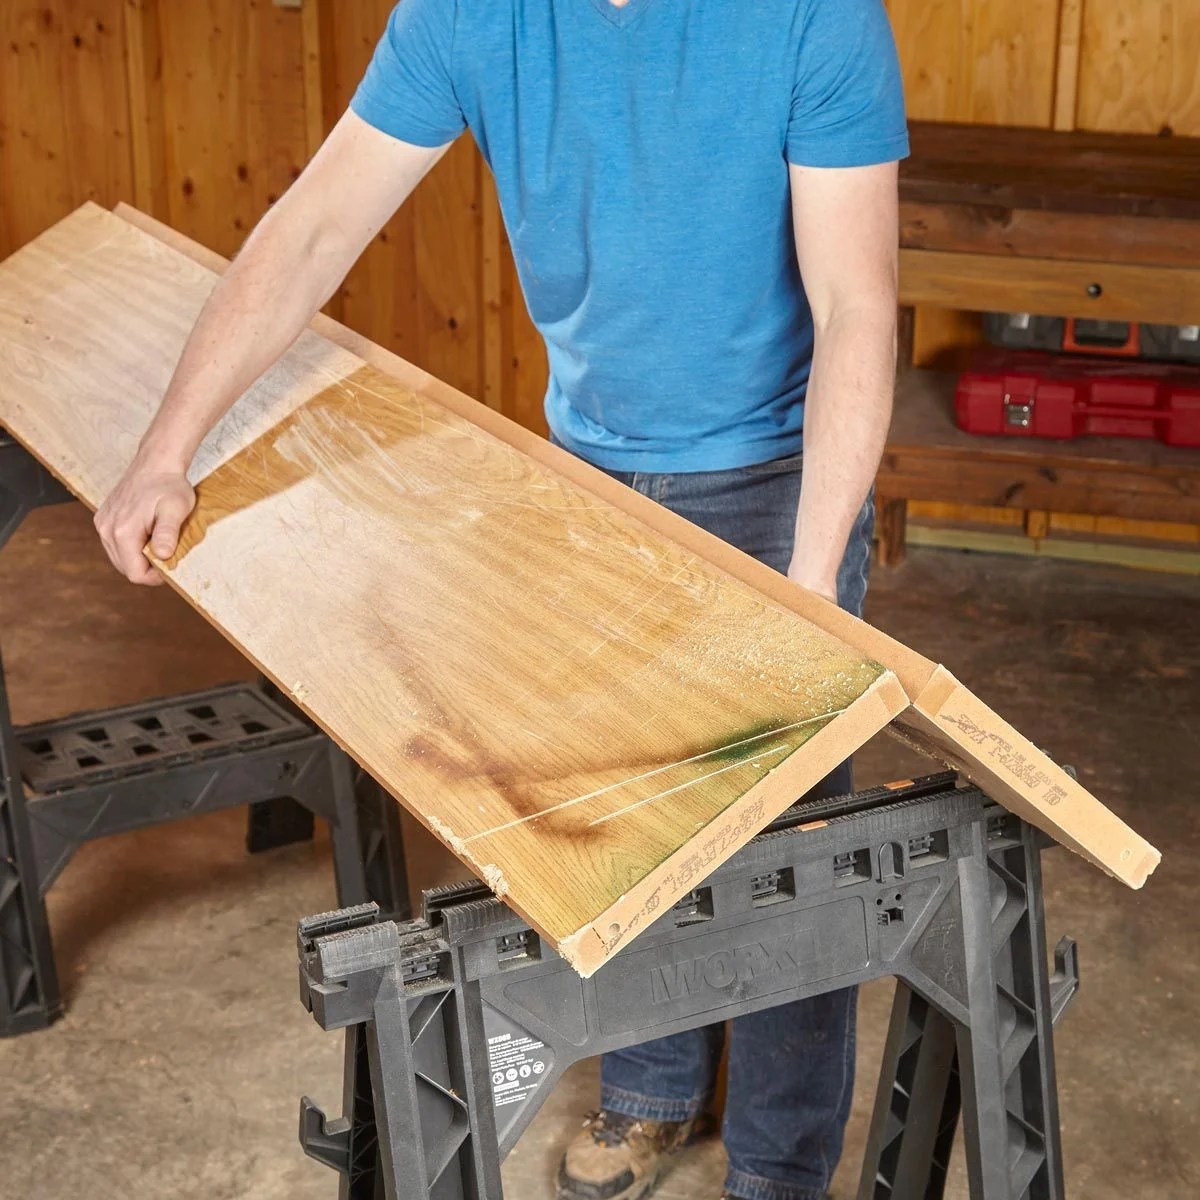
Beginner woodworking is a rewarding hobby that allows you to create beautiful and functional pieces with your own hands. Whether you’re interested in building furniture, crafting decorative items, or simply learning a new skill, woodworking offers a fulfilling and creative outlet.
This guide will walk you through the essential steps to get started with woodworking, from choosing the right tools and materials to mastering basic techniques and tackling your first projects. We’ll cover everything from safety precautions to design inspiration, ensuring you have a solid foundation for success.
Getting Started with Woodworking
Woodworking is a rewarding hobby that allows you to create beautiful and functional items for your home or to give as gifts. It’s a skill that can be learned by anyone, regardless of their experience level. Whether you’re interested in building furniture, making crafts, or simply learning a new skill, woodworking is a great option.
Basic Tools and Materials
It’s essential to have the right tools and materials to get started with woodworking. Here’s a list of basic tools and materials that every beginner should have:
- Measuring Tape: A measuring tape is essential for accurate measurements, ensuring your project pieces are cut to the correct size.
- Hand Saw: A hand saw is used for cutting wood to size. You can start with a basic crosscut saw for straight cuts.
- Hammer: A hammer is used for driving nails and other fasteners. You can start with a basic claw hammer.
- Screwdriver: A screwdriver is used for driving screws. You’ll need a variety of sizes and types of screwdrivers, including Phillips and flathead.
- Wood Glue: Wood glue is used for bonding pieces of wood together.
- Clamps: Clamps are used to hold pieces of wood together while the glue dries.
- Safety Glasses: Always wear safety glasses when working with wood, to protect your eyes from flying debris.
- Work Gloves: Work gloves protect your hands from splinters and rough surfaces.
- Wood: You’ll need to choose the right type of wood for your project. Softwoods like pine and cedar are easier to work with for beginners. Hardwoods like oak and maple are more durable and can be used for more challenging projects.
Essential Safety Precautions
Safety should always be a top priority when working with wood. Here are some essential safety precautions to follow:
- Wear safety glasses: This is crucial to protect your eyes from flying debris.
- Use a dust mask: Woodworking can generate a lot of dust, which can be harmful to your lungs.
- Keep your workspace clean and organized: A cluttered workspace can lead to accidents.
- Use proper tools for the job: Using the wrong tool can be dangerous.
- Always be aware of your surroundings: Make sure there are no obstacles in your way and that you have a clear path to move around.
- Don’t use power tools until you’re comfortable with hand tools: Power tools can be dangerous if they’re not used properly.
Setting Up a Woodworking Workspace
Having a dedicated workspace is essential for woodworking. It provides a safe and organized environment for your projects. Here are some tips for setting up a woodworking workspace:
- Choose a well-lit area: Good lighting is essential for accurate work.
- Provide adequate ventilation: Woodworking can generate dust, so make sure you have good ventilation to remove it.
- Have a dedicated work surface: A sturdy workbench is essential for supporting your projects and providing a stable surface for working.
- Organize your tools and materials: Keep your tools and materials organized so you can easily find what you need.
- Consider safety equipment: Always have safety glasses, a dust mask, and work gloves readily available.
Fundamental Woodworking Techniques
Mastering fundamental woodworking techniques is crucial for building anything from simple projects to intricate furniture. Understanding these techniques will enable you to work with wood efficiently and accurately, ensuring your projects turn out as intended.
Measuring and Cutting Wood
Accurate measuring and cutting are essential for woodworking. Properly measuring and cutting wood ensures that your project pieces fit together correctly, leading to a finished product that is both functional and aesthetically pleasing.
- Measuring: Use a measuring tape to determine the exact dimensions of your wood pieces. Ensure you measure accurately and mark your wood clearly with a pencil or marker. Always double-check your measurements before cutting.
- Cutting: Several tools can be used for cutting wood, including hand saws, circular saws, and table saws. The choice of tool depends on the size and type of wood being cut, as well as the desired accuracy. When using any cutting tool, it’s crucial to prioritize safety and wear appropriate safety gear.
Wood Joints
Wood joints are essential for connecting different pieces of wood to create a strong and stable structure. Different types of joints are used depending on the project’s requirements and the desired aesthetic.
- Butt Joint: This is the simplest joint, where two pieces of wood are joined end-to-end. It is a relatively weak joint and is often used for simple projects or when hidden by other materials.
- Lap Joint: This joint involves overlapping two pieces of wood, creating a stronger connection than a butt joint. It is often used for furniture and other structural projects.
- Dovetail Joint: This is a strong and intricate joint that is often used for drawers and other furniture pieces. It is characterized by interlocking, tapered pieces that create a secure and visually appealing connection.
- Mortise and Tenon Joint: This joint involves creating a rectangular hole (mortise) in one piece of wood and a corresponding projection (tenon) on another. It is a strong and durable joint often used for furniture and other structural projects.
Sanding and Finishing Wood
Sanding and finishing are essential steps in woodworking, enhancing the wood’s appearance and protecting it from damage. Sanding smooths out the wood’s surface, while finishing adds a protective layer and enhances its beauty.
- Sanding: Sanding involves using sandpaper to smooth the surface of the wood. Start with coarse-grit sandpaper and progressively move to finer grits for a smoother finish. Always sand with the grain of the wood to avoid scratches.
- Finishing: Finishing involves applying a protective coating to the wood’s surface. Various finishes are available, including paints, stains, varnishes, and oils. The choice of finish depends on the desired look and the wood’s intended use.
Beginner Woodworking Projects

Now that you’ve learned the fundamentals of woodworking, it’s time to put your skills to the test by building some simple projects. This is a great way to practice your techniques, gain confidence, and create something useful or decorative for your home.
Simple Wooden Box
Building a wooden box is a classic beginner project that allows you to practice basic woodworking techniques like cutting, sanding, and assembling.
Here’s a step-by-step guide to building a small wooden box:
Materials:
* Wood (e.g., pine, cedar, or plywood)
* Wood glue
* Wood screws
* Sandpaper (various grits)
* Finish (e.g., stain, paint, or varnish)
* Measuring tape
* Pencil
* Saw (e.g., hand saw, circular saw, or jigsaw)
* Drill
* Clamps
Steps:
1. Cut the wood: Using your saw, cut the wood into the desired dimensions for the box. You’ll need four pieces for the sides, two pieces for the top and bottom, and four pieces for the corners.
2. Sand the wood: Smooth out the edges of the wood with sandpaper. Start with a coarser grit and work your way up to a finer grit for a smooth finish.
3. Assemble the box: Apply wood glue to the edges of the side pieces and then attach them to the bottom piece. Use clamps to hold the pieces together while the glue dries.
4. Attach the top: Once the glue is dry, attach the top piece to the box using wood screws. Make sure to countersink the screws so that they don’t stick out.
5. Finish the box: Apply a finish to the box, such as stain, paint, or varnish. This will protect the wood and give it a nice look.
Tips:
* Use a miter saw for accurate cuts: A miter saw will help you cut the wood at precise angles, ensuring that the box is square and well-built.
* Pre-drill holes before screwing: This will prevent the wood from splitting when you screw in the screws.
* Use clamps to hold the pieces together: This will ensure that the glue dries evenly and that the box is properly assembled.
Beginner Woodworking Project Ideas
Here are some other beginner woodworking projects that you can try:
| Project | Estimated Time | Skill Level | Description |
|---|---|---|---|
| Simple Shelf | 2-3 hours | Beginner | A simple shelf can be built using basic cuts and assembly techniques. It’s a great project for practicing your skills and adding storage to your home. |
| Wooden Cutting Board | 4-5 hours | Beginner | A wooden cutting board is a useful and practical kitchen tool. It’s a good project for practicing your sanding and finishing skills. |
| Birdhouse | 3-4 hours | Beginner | A birdhouse is a fun and rewarding project that can attract birds to your backyard. It’s a good project for practicing your measuring and cutting skills. |
| Small Table | 6-8 hours | Intermediate | A small table is a more challenging project, but it’s still within the reach of beginners. It requires more precise cuts and assembly techniques. |
Essential Woodworking Skills

Mastering woodworking involves acquiring a range of essential skills, from understanding the properties of wood to safely using hand and power tools. This section delves into key woodworking skills, providing insights into their importance and practical applications.
Importance of Hand Tools
Hand tools are indispensable in woodworking, offering precision, control, and versatility. They are often used for tasks that require finesse, detail work, or where power tools are impractical.
- Precision and Control: Hand tools allow for precise cuts, shaping, and finishing, enabling woodworkers to achieve intricate details and fine adjustments.
- Versatility: Hand tools are adaptable to a wide range of woodworking tasks, from simple projects to complex furniture making.
- Portability: Hand tools are compact and lightweight, making them convenient for working in different locations or on smaller projects.
- Cost-Effective: Compared to power tools, hand tools are generally more affordable, making them an attractive option for beginners or those on a budget.
Types of Power Tools, Beginner woodworking
Power tools significantly enhance woodworking efficiency and speed, allowing for larger-scale projects and more intricate designs. Understanding different types of power tools and their specific applications is crucial for woodworking success.
- Circular Saw: Used for making straight cuts in wood, plywood, and other materials. They are available in various sizes and power levels, with features like blade guards and adjustable depth settings for safety and precision.
- Jigsaw: Ideal for making curved cuts, intricate shapes, and cutting through materials like plywood and laminate. They often come with various blade types for different applications.
- Router: Used for creating precise grooves, edges, and profiles in wood. They are equipped with different bits for various tasks, allowing for customization and versatility.
- Belt Sander: Designed for sanding large flat surfaces and removing material quickly. They feature a continuous belt with abrasive material, providing consistent sanding action.
- Random Orbital Sander: Provides a smooth finish by using a random orbital motion, eliminating sanding marks and achieving a uniform surface. They are ideal for finishing work on various surfaces.
- Table Saw: A stationary power tool used for making precise crosscuts, rip cuts, and miter cuts. They offer greater accuracy and control compared to hand-held saws.
- Drill Press: Used for drilling holes accurately and consistently in wood and other materials. They provide a stable platform for drilling, ensuring precise depth control and reducing the risk of splintering.
Woodworking Resources
For beginners, finding the right resources is crucial for learning and developing woodworking skills. Numerous books, websites, and online courses offer comprehensive information and practical guidance.
- Books: “The Complete Illustrated Guide to Woodworking” by Bruce Hoad, “Woodworking for Dummies” by Jeff Strong, and “The Woodworker’s Handbook” by Robert W. Lang are excellent starting points.
- Websites: Popular woodworking websites like Woodworking for Mere Mortals, Fine Woodworking, and Popular Woodworking offer a wealth of articles, projects, and tutorials.
- Online Courses: Platforms like Udemy, Skillshare, and Coursera offer various woodworking courses, from beginner-friendly introductions to advanced techniques.
Inspiration and Design

Woodworking is not just about creating functional pieces; it’s also about expressing your creativity and making beautiful, unique objects. Inspiration is everywhere, and you can find it in everyday objects, nature, or even other woodworking projects. The design of your woodworking project will determine the look, functionality, and overall appeal of your piece.
Examples of Inspiring Woodworking Projects
It’s often helpful to look at examples of woodworking projects to spark your own creativity. Many websites and books showcase stunning woodworking projects, ranging from simple to complex. Here are some ideas for beginner woodworking projects:
- Simple cutting boards: These are practical and easy to make, and you can experiment with different wood species and designs.
- Small wooden boxes: These are versatile and can be used for storage, jewelry, or even as decorative elements.
- Wooden coasters: These are great for adding a touch of personality to your home and are a good way to practice basic woodworking techniques.
- Birdhouses: These are fun and rewarding projects, and you can customize them with different designs and colors.
Principles of Wood Design and Aesthetics
Wood design is about more than just making something that looks good; it’s about creating a piece that is functional, aesthetically pleasing, and durable. Here are some key principles of wood design:
- Form follows function: The design of a woodworking project should be driven by its intended use. For example, a cutting board needs to be sturdy and flat, while a birdhouse needs to have a hole for birds to enter.
- Balance and proportion: The overall shape and size of your project should be balanced and proportionate. This creates a sense of harmony and visual appeal.
- Simplicity: Often, the most beautiful designs are the simplest. Avoid over-complicating your projects, and focus on creating clean lines and elegant forms.
- Texture and grain: Wood has a natural beauty that can be enhanced by highlighting its texture and grain patterns. You can use different finishing techniques to bring out the wood’s natural characteristics.
- Color and contrast: Different wood species have unique colors and grains, which can be used to create interesting visual contrasts. You can also use stains and finishes to add color and depth to your projects.
Choosing the Right Wood Species
Different wood species have different characteristics, such as hardness, grain patterns, and color. Choosing the right wood for your project is essential for both functionality and aesthetics. Here are some examples of common wood species and their typical uses:
| Wood Species | Characteristics | Uses |
|---|---|---|
| Oak | Hard, durable, strong grain pattern | Furniture, flooring, cutting boards |
| Maple | Hard, strong, fine grain pattern | Furniture, flooring, baseball bats |
| Cherry | Hard, strong, reddish-brown color | Furniture, cabinets, bowls |
| Pine | Soft, lightweight, affordable | Construction, furniture, crafts |
| Cedar | Aromatic, insect-resistant, reddish-brown color | Outdoor furniture, decking, crafts |
“The beauty of wood lies in its natural imperfections and unique grain patterns.”
Final Thoughts: Beginner Woodworking
As you delve deeper into the world of woodworking, you’ll discover a passion for creating with your hands and the satisfaction of seeing your ideas come to life. From simple projects to more ambitious endeavors, woodworking offers endless possibilities for exploration and creativity. With dedication and practice, you’ll be amazed at what you can achieve.
Questions Often Asked
What are the best beginner woodworking projects?
Simple projects like cutting boards, small boxes, or picture frames are great for beginners. They allow you to practice basic techniques and gain confidence before moving on to more complex projects.
What type of wood is best for beginners?
Softwoods like pine and fir are generally easier to work with for beginners due to their softer nature and forgiving qualities. They are also more affordable.
How do I choose the right woodworking tools?
Start with essential hand tools like a saw, hammer, screwdriver, and measuring tape. As you progress, you can gradually invest in power tools like a drill, sander, and table saw.
Beginner woodworking can be a fun and rewarding hobby, and there are tons of projects you can tackle. If you’re feeling a little lost, don’t worry! There are loads of great resources out there, like woodworking plans that can help you get started.
These plans can provide detailed instructions and diagrams to guide you through each step of the process. With a little practice and some good plans, you’ll be building amazing things in no time!
