Beginning woodworking projects are an excellent way to tap into your creativity and learn a valuable skill. Whether you’re drawn to the satisfaction of crafting something with your hands or simply seeking a new hobby, woodworking offers a rewarding journey of discovery. From simple cutting boards to charming birdhouses, these projects provide a perfect stepping stone into the world of woodworking, allowing you to develop fundamental skills and build confidence along the way.
This guide will walk you through the essential steps of embarking on your woodworking journey, covering everything from selecting the right project and gathering necessary tools to mastering basic techniques and ensuring safety. We’ll also explore project planning, design considerations, and finishing touches that will enhance your creations.
Choosing the Right Project
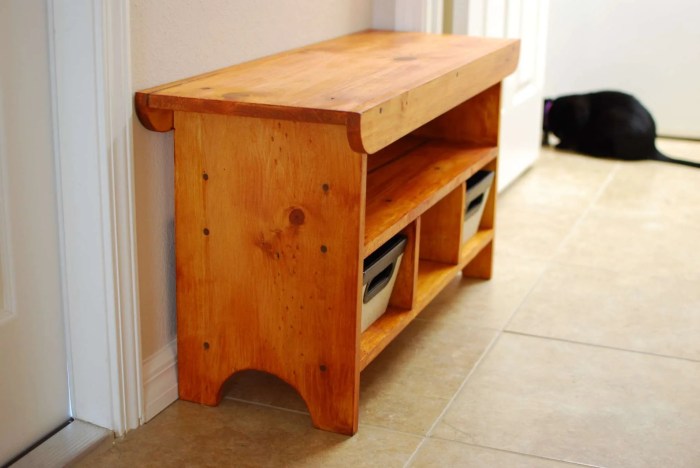
Starting your woodworking journey can be exciting, but it’s essential to choose a project that matches your skill level and interests. Selecting the right project sets you up for success and builds confidence as you learn.
Beginner-Friendly Woodworking Projects
Here are some beginner-friendly woodworking projects that offer varying levels of complexity:
- Simple Cutting Boards: Cutting boards are a great starting point. They involve basic cuts and require minimal tools. You can experiment with different wood types and designs.
- Birdhouses: Building a birdhouse is a fun and rewarding project. It involves basic carpentry skills, such as cutting, drilling, and assembling. You can find numerous birdhouse plans online for inspiration.
- Small Shelves: Simple shelves are practical and easy to build. They involve basic measurements, cutting, and attaching boards. You can customize them to fit your space and needs.
- Wooden Spoons: Carving wooden spoons is a fun and creative project that allows you to explore wood textures and shapes. You can use simple tools like a carving knife and a gouge to create unique spoons.
- Planter Boxes: Building planter boxes is a practical project that combines woodworking skills with gardening. You can choose from various designs and materials, such as cedar or redwood.
Starting with smaller, less intricate projects allows you to develop fundamental skills and build confidence before tackling more complex ones.
Benefits of Starting Small
Starting with smaller projects offers several benefits:
- Build Confidence: Completing smaller projects quickly gives you a sense of accomplishment and motivates you to continue learning.
- Master Basic Skills: Smaller projects allow you to focus on mastering fundamental woodworking techniques, such as measuring, cutting, and assembling.
- Reduce Risk of Errors: Smaller projects involve less material and effort, reducing the risk of costly mistakes and frustration.
- Experiment with Different Woods and Techniques: You can experiment with different wood types, finishes, and techniques without investing a lot of time or resources.
Essential Tools and Materials
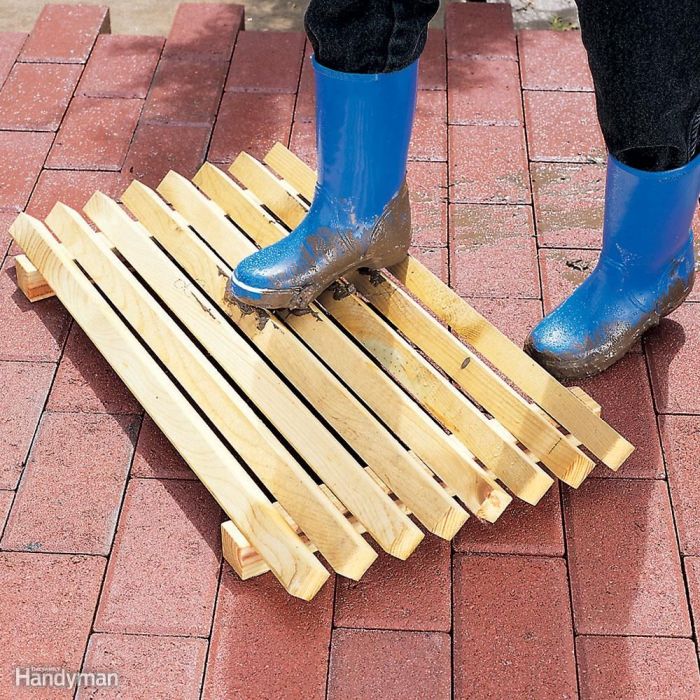
Starting your woodworking journey requires gathering essential tools and materials. Having the right equipment makes your projects safer, more efficient, and enjoyable.
Essential Hand Tools
A good set of hand tools is the foundation of any woodworking project. They provide precise control and versatility, especially for intricate work and smaller projects.
- Measuring Tools:
- Tape Measure: A must-have for accurately measuring lengths and distances.
- Combination Square: Used to check angles, measure lengths, and draw lines.
- Try Square: Ensures accurate 90-degree angles for precise cuts.
- Ruler: Useful for measuring smaller dimensions and marking lines.
- Saws:
- Hand Saw: A basic saw for cutting wood, typically used for rough cuts.
- Backsaw: A fine-toothed saw for making precise cuts, often used for crosscuts and tenons.
- Coping Saw: A small, frame-mounted saw for intricate cuts, often used for curves and moldings.
- Chisels: Used for shaping and carving wood, and come in various sizes and shapes.
- Hammer: Essential for driving nails and other fasteners.
- Screwdrivers: Used to drive and remove screws.
- Pliers: Useful for gripping and holding objects, and for bending wire.
- Clamps: Essential for holding pieces of wood together while gluing or joining them.
- Woodworking Plane: Used to smooth and flatten wood surfaces.
- Sandpaper: Used to smooth and finish wood surfaces.
Essential Power Tools
Power tools offer speed and efficiency, making larger projects more manageable. Always prioritize safety and use proper techniques.
- Drill: A versatile tool for drilling holes and driving screws.
- Cordless Drills: Offer portability and convenience.
- Corded Drills: Provide more power for demanding tasks.
- Jigsaw: Used for making curved and intricate cuts in wood.
- Circular Saw: A powerful saw for making straight cuts, often used for ripping and crosscutting.
- Router: A versatile tool for shaping and routing wood, often used for edges, grooves, and decorative details.
- Belt Sander: Used for sanding large areas quickly and efficiently.
- Random Orbital Sander: Provides a smooth, even finish, often used for final sanding.
Selecting Wood
Choosing the right wood is crucial for your woodworking project. Consider the project’s purpose, the desired aesthetic, and the wood’s properties.
- Hardwoods: Known for their strength, durability, and beautiful grain patterns. Examples include oak, maple, cherry, and walnut.
- Softwoods: Typically lighter and easier to work with, but may not be as durable as hardwoods. Examples include pine, fir, and cedar.
- Plywood: A versatile material made from thin layers of wood veneer glued together. It’s strong, stable, and affordable.
- MDF (Medium-Density Fiberboard): A manufactured wood product that is smooth and easy to work with. It’s often used for furniture and cabinetry.
Basic Woodworking Techniques
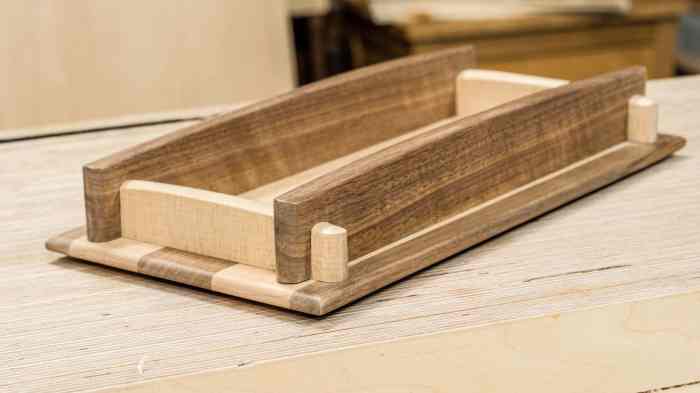
Mastering fundamental woodworking techniques is essential for crafting beautiful and functional projects. Whether you’re a beginner or seasoned woodworker, understanding these techniques will elevate your skills and enable you to create stunning pieces. Let’s delve into the core techniques that form the foundation of woodworking.
Measuring
Accurate measurement is crucial for woodworking, ensuring that your pieces fit together perfectly. There are several tools available for measuring, each with its unique purpose.
- Measuring Tape: A retractable tape measure is essential for measuring lengths and distances.
- Ruler: Rulers are useful for measuring shorter distances and for making precise markings.
- Combination Square: This versatile tool combines a ruler, a square, and a protractor for measuring angles and checking for squareness.
- Try Square: A try square is used to check if two surfaces are perpendicular to each other.
- Caliper: Calipers are used to measure the inside and outside diameters of objects.
When measuring, it’s important to use a sharp pencil to make clear markings. Ensure that your markings are parallel to the edge of the wood and that the tool is held securely against the surface.
Cutting
Cutting wood accurately and safely is essential for woodworking. There are several cutting tools available, each with its own strengths and weaknesses.
- Hand Saw: Hand saws are used for making straight cuts and are versatile for various tasks.
- Circular Saw: Circular saws are power tools that are used for making straight cuts and are particularly useful for ripping lumber.
- Jigsaw: Jigsaws are power tools that are used for making curved cuts and intricate shapes.
- Table Saw: Table saws are powerful stationary tools that are used for making precise and accurate cuts, including ripping, crosscutting, and mitering.
- Miter Saw: Miter saws are used for making precise angled cuts, such as those needed for picture frames or cabinets.
When cutting wood, it’s important to use a sharp blade and to make sure that the blade is properly aligned with the cutting line. Use a push stick to guide the wood through the saw and to keep your hands away from the blade. Always wear safety glasses and ear protection when cutting wood.
Starting with woodworking can be overwhelming, but it’s also super rewarding! You can build some cool stuff like a simple shelf or a birdhouse. If you want to take on bigger projects, you can check out some great furniture woodworking plans online, which can guide you through making tables, chairs, and even beds.
Once you get comfortable with the basics, the possibilities are endless!
Sanding
Sanding is the process of smoothing the surface of wood by removing irregularities and creating a uniform finish.
- Sandpaper: Sandpaper is available in various grits, with lower grits (e.g., 80 grit) used for removing coarse imperfections and higher grits (e.g., 220 grit) used for achieving a fine finish.
- Sanding Block: Sanding blocks provide a flat and stable surface for sanding, helping to create a more even finish.
- Random Orbital Sander: Random orbital sanders are power tools that are used for sanding large areas quickly and efficiently.
- Belt Sander: Belt sanders are power tools that are used for removing large amounts of material quickly and are often used for rough sanding.
When sanding, it’s important to start with a coarser grit sandpaper and gradually work your way up to finer grits. Sand with the grain of the wood to avoid creating scratches. Use a sanding block to ensure a smooth and even finish. It’s also essential to wear a dust mask to avoid inhaling wood dust.
Joining Wood
Joining wood is the process of connecting two or more pieces of wood together. There are several methods for joining wood, each with its own strengths and weaknesses.
- Glue: Wood glue is a common and effective way to join wood. It’s important to use the right type of glue for the project and to apply it evenly to the surfaces being joined.
- Screws: Screws are used for joining wood together securely and are often used in conjunction with glue.
- Nails: Nails are used for joining wood together quickly and are often used for temporary or less permanent joins.
- Dowels: Dowels are cylindrical pieces of wood that are used to join two pieces of wood together. They are often used in furniture making and are a strong and durable way to join wood.
- Pocket Holes: Pocket holes are a type of joinery that uses a special jig to create angled holes for screws, allowing for strong and invisible joins.
- Mortise and Tenon: Mortise and tenon joinery is a traditional method for joining wood together. It involves cutting a rectangular hole (mortise) in one piece of wood and a corresponding projection (tenon) on another piece of wood. This type of joinery is strong and durable but requires more time and skill to create.
When joining wood, it’s important to use the right type of joinery for the project and to ensure that the pieces are aligned correctly. Use clamps to hold the pieces together while the glue dries.
Project Planning and Design: Beginning Woodworking Projects
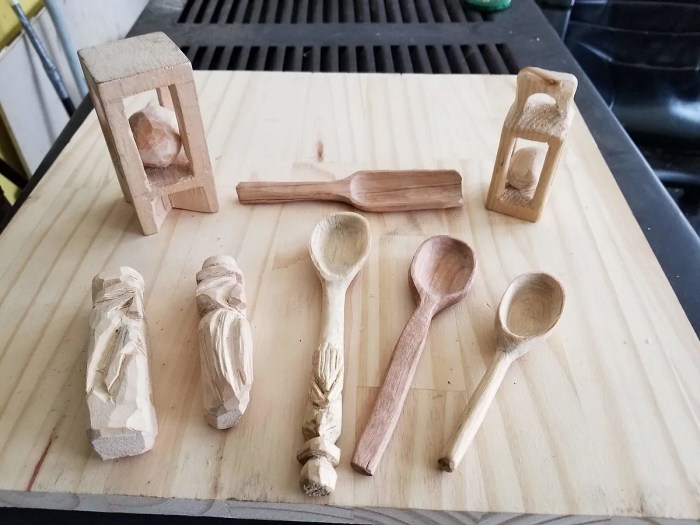
A well-defined plan is the foundation of any successful woodworking project. It helps you visualize the final product, determine the necessary materials and tools, and anticipate potential challenges. A comprehensive plan saves time, money, and frustration in the long run.
Creating a Detailed Plan
Creating a detailed plan involves several key steps.
- Sketches: Start by sketching your project from different angles. This helps you visualize the overall shape, dimensions, and design elements. You can use a pencil and paper, or a digital drawing tool.
- Measurements: Carefully measure all dimensions of your project, including length, width, height, and any specific details. Record these measurements on your sketches or in a separate document.
- Material List: Create a detailed list of all materials you will need, including wood types, quantities, hardware, and finishes. Specify the dimensions and types of wood, such as “1×4 pine,” “2×6 oak,” or “plywood.” Also, include any fasteners, hinges, handles, or other accessories.
- Cutting Diagram: For complex projects, create a cutting diagram that shows how to cut the wood into the required pieces. Label each piece with its dimensions and purpose. This diagram is essential for ensuring accurate cutting and minimizing waste.
- Assembly Instructions: Write step-by-step assembly instructions, including the order in which pieces are joined, the type of fasteners to use, and any special techniques. This helps you understand the process and avoid mistakes.
Example Project Plans
Here are examples of simple project plans for beginners.
Simple Picture Frame

Materials:
* 1×2 pine (8 pieces, 12″ long)
* Wood glue
* Finish (stain or paint)
Cutting Diagram:
* Cut eight pieces of 1×2 pine to 12″ long.
Assembly Instructions:
1. Apply wood glue to the ends of two pieces of 1×2 pine.
2. Join the glued ends together to form a corner.
3. Repeat steps 1 and 2 to create the remaining three corners.
4. Use clamps to hold the corners together until the glue dries.
5. Apply finish to the frame.
Small Wooden Shelf

Materials:
* 1×6 pine (2 pieces, 12″ long)
* 1×2 pine (2 pieces, 12″ long)
* Wood glue
* Finish (stain or paint)
* Shelf brackets (2)
Cutting Diagram:
* Cut two pieces of 1×6 pine to 12″ long for the shelf top.
* Cut two pieces of 1×2 pine to 12″ long for the shelf sides.
Assembly Instructions:
1. Apply wood glue to the ends of the two shelf sides.
2. Attach the shelf sides to the shelf top using clamps.
3. Let the glue dry completely.
4. Attach the shelf brackets to the wall.
5. Place the shelf on the brackets.
6. Apply finish to the shelf.
Woodworking Software and Online Resources
Woodworking software and online resources can be invaluable for planning and designing projects.
- 3D Modeling Software: Software like SketchUp, Fusion 360, and Autodesk Inventor allows you to create 3D models of your projects, visualize them from different angles, and make changes before cutting any wood. These programs often include built-in libraries of materials and tools.
- Online Project Plans: Numerous websites offer free or paid woodworking project plans with detailed instructions, diagrams, and material lists. Some popular resources include Ana White, Woodworking for Mere Mortals, and Popular Woodworking.
- Online Calculators: Websites and apps offer calculators for calculating board footage, cutting angles, and other woodworking tasks. These tools can save you time and prevent errors.
Safety First
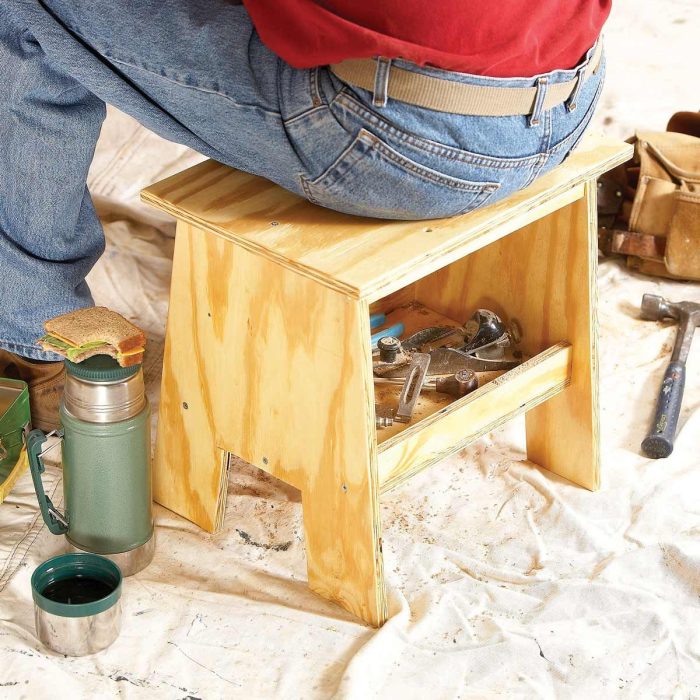
Woodworking is a rewarding hobby, but it also involves inherent risks. Safety should be your top priority when working with wood and tools. Failing to take precautions can lead to serious injuries. Always be aware of your surroundings and follow safety guidelines to ensure a safe and enjoyable woodworking experience.
Protective Gear
Wearing appropriate protective gear is essential for minimizing the risk of injuries. This gear acts as a barrier between you and potential hazards.
- Safety Glasses: Protect your eyes from flying debris, sawdust, and wood chips. Always wear safety glasses, even for simple tasks. Consider using a face shield for additional protection when working with power tools.
- Hearing Protection: Power tools generate loud noises that can damage your hearing over time. Wear earplugs or earmuffs to protect your hearing, especially when using tools like saws, routers, and sanders.
- Gloves: Protect your hands from splinters, cuts, and abrasions. Choose gloves that provide good grip and dexterity. Consider using cut-resistant gloves when working with sharp tools.
- Dust Mask: Wood dust is a respiratory irritant and can be harmful to your health. Wear a dust mask to filter out wood dust particles, especially when sanding or using power tools that create a lot of dust.
- Respirator: For more serious dust exposure, consider using a respirator with a dust filter. This provides greater protection against fine dust particles.
Tool Safety
Using tools correctly and safely is crucial for preventing accidents. Always read the manufacturer’s instructions before operating any tool.
- Sharp Tools: Sharp tools are safer than dull ones because they require less force to use. A dull tool is more likely to slip and cause an injury. Keep your tools sharp and well-maintained.
- Proper Tool Use: Use tools for their intended purpose and follow the manufacturer’s instructions. Never use a tool in a way it was not designed to be used.
- Tool Maintenance: Regularly inspect and maintain your tools. Check for loose parts, damaged cords, or worn blades. Replace or repair any damaged tools immediately.
- Secure Workpieces: Always secure your workpieces before cutting or working on them. Use clamps, vices, or other workholding devices to prevent the workpiece from moving during operation.
- Power Tool Safety: When using power tools, always unplug them when not in use. Use a safety switch or circuit breaker to prevent accidental starts. Avoid wearing loose clothing or jewelry that could get caught in moving parts.
Workspace Safety
A clean and organized workspace is essential for safety. Clutter can create tripping hazards and obstruct your view of your work.
- Clean Workspace: Clean up sawdust and debris regularly to prevent slip-and-fall accidents and to keep your workspace free of potential hazards.
- Organized Workspace: Store tools and materials in designated areas to prevent clutter and to make it easier to find what you need. Keep frequently used tools within easy reach.
- Adequate Lighting: Ensure that your workspace is well-lit. Poor lighting can strain your eyes and make it difficult to see what you are doing.
- Ventilation: Provide adequate ventilation to remove wood dust and other airborne particles. Use a dust collector or open windows and doors to create airflow.
- Fire Safety: Keep a fire extinguisher readily available and know how to use it. Avoid working near flammable materials and be aware of the potential for sparks from power tools.
Dust and Hazardous Materials
Wood dust and other materials used in woodworking can pose health risks. Take precautions to minimize exposure and dispose of materials properly.
- Wood Dust: Wood dust is a known carcinogen and can irritate the respiratory system. Always wear a dust mask when sanding or using power tools that create dust. Use a dust collector to remove dust from the air.
- Hazardous Materials: Some woodworking materials, such as paints, varnishes, and stains, contain hazardous chemicals. Read the safety data sheet (SDS) for each product and follow the instructions carefully. Wear gloves and eye protection when handling these materials. Store them in a well-ventilated area away from heat and ignition sources.
- Waste Disposal: Dispose of wood dust and other hazardous materials properly. Do not dump them down the drain or into the trash. Follow local regulations for waste disposal.
Finishing Touches
The final step in any woodworking project is applying a finish. Finishes not only enhance the look of your project, but they also protect the wood from damage and wear. There are many different types of finishes available, each with its own unique properties and applications.
Types of Wood Finishes
The most common types of wood finishes are stains, paints, varnishes, and oils.
- Stains are used to change the color of wood without obscuring its grain. They penetrate the wood’s surface and react with the tannins in the wood to create a variety of colors. Stains are available in a wide range of colors, from natural wood tones to deep, rich hues.
- Paints are opaque coatings that completely cover the wood’s surface. Paints are available in a wide variety of colors and finishes, from flat to gloss.
- Varnishes are clear coatings that protect the wood from scratches, water, and UV damage. Varnishes come in different finishes, from satin to gloss.
- Oils are penetrating finishes that soak into the wood and provide a protective layer. Oils are available in a variety of formulations, including tung oil, linseed oil, and Danish oil.
Choosing the Right Finish
The best type of finish for your project depends on several factors, including the type of wood, the desired look, and the intended use.
- For example, if you are building a piece of furniture that will be used indoors, you might choose a stain or varnish to protect the wood and enhance its natural beauty.
- If you are building a piece of outdoor furniture, you might choose a paint or oil that is more durable and weather-resistant.
Applying Finishes, Beginning woodworking projects
Applying finishes evenly and professionally is essential for achieving a beautiful and durable finish. Here are a few tips:
- Always follow the manufacturer’s instructions carefully.
- Sand the wood thoroughly before applying any finish.
- Use a brush or cloth to apply the finish evenly.
- Avoid applying too much finish, as this can lead to drips and runs.
- Let the finish dry completely between coats.
- Apply multiple thin coats of finish for the best results.
Last Recap
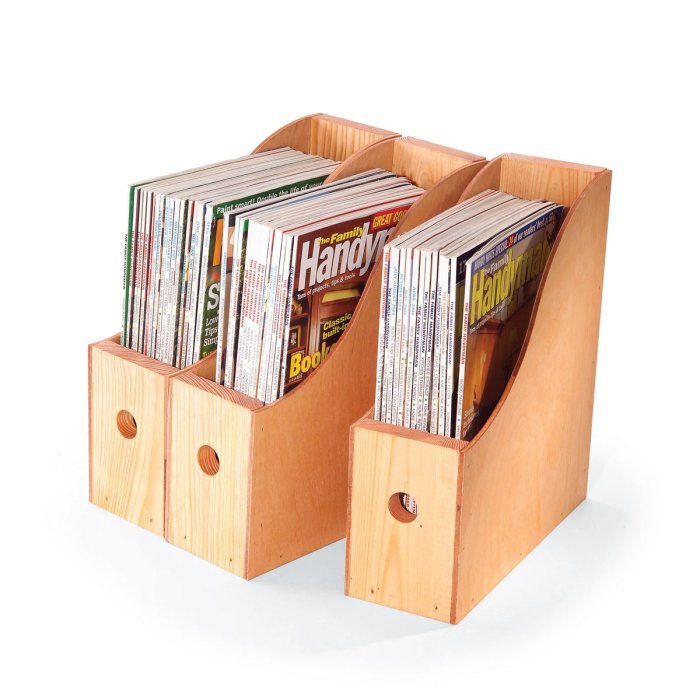
As you embark on your woodworking journey, remember that patience, practice, and a passion for the craft are your most valuable tools. Embrace the learning process, enjoy the satisfaction of creating something with your own hands, and let your woodworking journey be a testament to your dedication and creativity. With each project, you’ll refine your skills, expand your knowledge, and discover the endless possibilities that woodworking has to offer.
Query Resolution
What are some beginner-friendly woodworking projects?
Simple projects like cutting boards, birdhouses, small shelves, and picture frames are great for beginners. These projects allow you to practice basic techniques without overwhelming complexity.
What safety precautions should I take when woodworking?
Always wear safety glasses, hearing protection, and a dust mask. Use tools correctly, keep your workspace clean and organized, and handle power tools with care.
Where can I find woodworking plans?
There are numerous online resources and woodworking books that offer free and paid plans. You can also find plans at local hardware stores or woodworking supply shops.
What kind of wood should I use for my first project?
Softwoods like pine and fir are easier to work with for beginners. They are generally less expensive and more forgiving for learning basic techniques.
