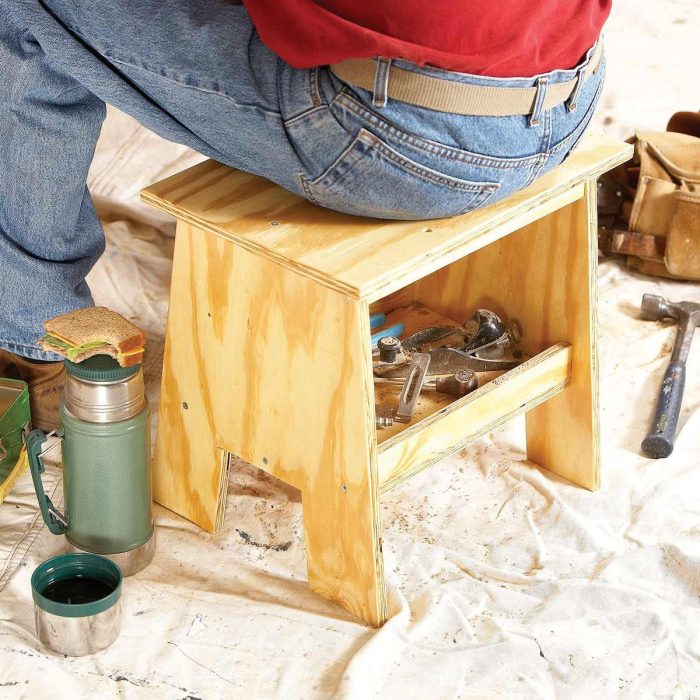
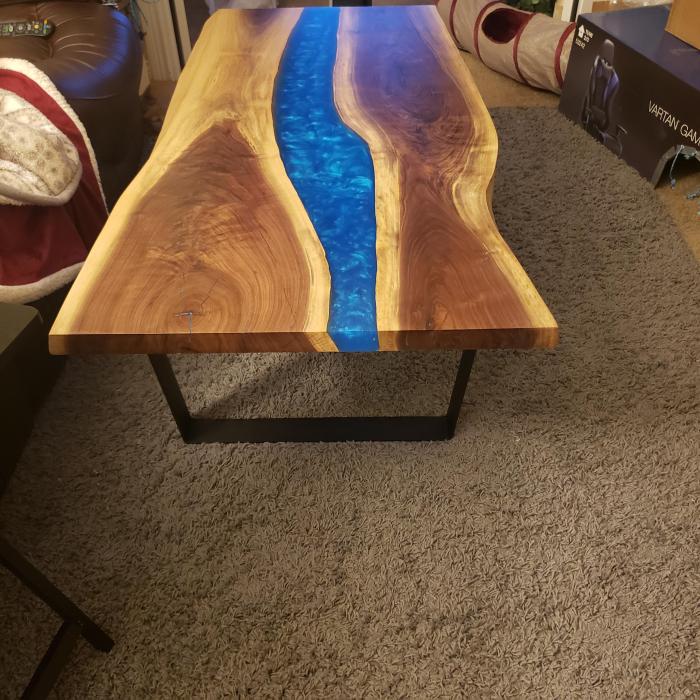
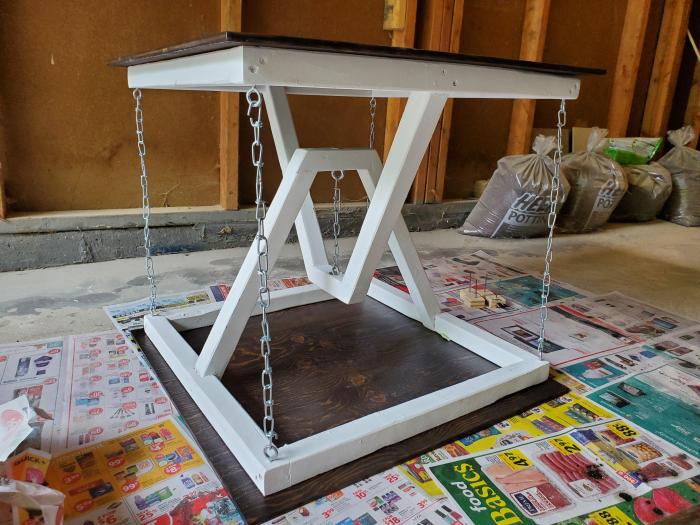
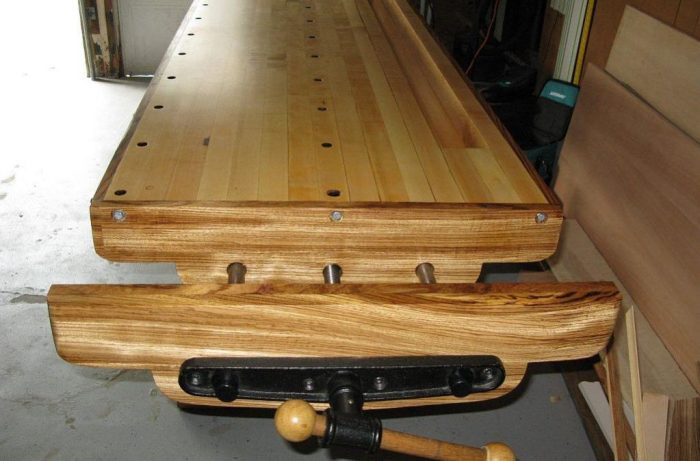
First woodworking project, a phrase that conjures up images of sawdust, tools, and the satisfaction of creating something with your own hands. It’s a journey that starts with curiosity and ends with a tangible piece of your own creation. Whether you’re drawn to the calming rhythm of sanding or the precision of cutting, woodworking offers a unique blend of creativity and skill.
This guide is your starting point, designed to walk you through the essential steps of embarking on your first woodworking project. From choosing the right project to mastering basic techniques, we’ll equip you with the knowledge and confidence to bring your woodworking dreams to life.
Essential Tools and Materials

Before diving into your first woodworking project, it’s crucial to gather the essential tools and materials. Having the right tools and understanding their uses will make your woodworking journey smoother and safer.
Basic Woodworking Tools
Here’s a table outlining the basic tools needed for a first woodworking project:
| Tool | Description | Purpose | Safety Considerations |
|---|---|---|---|
| Measuring Tape | A flexible tape measure with markings for measuring length and width. | Accurate measurement of wood pieces. | Always ensure the tape is secure and won’t slip during measurement. |
| Pencil | A writing instrument used for marking lines on wood. | Transferring measurements and marking cutting lines. | Use a sharp pencil for clear, precise markings. |
| Hand Saw | A saw with a blade that is held and moved by hand. | Cutting wood to desired lengths and shapes. | Always use a sawhorse or stable work surface to support the wood. |
| Hammer | A tool with a heavy head and a handle used for driving nails. | Securing pieces of wood together using nails. | Wear safety glasses to protect your eyes from flying debris. |
| Screwdriver | A tool with a handle and a tip used for driving screws. | Securing pieces of wood together using screws. | Use the appropriate size screwdriver to avoid stripping screw heads. |
| Clamps | Tools that hold pieces of wood together securely. | Holding wood pieces together while gluing or assembling. | Always ensure the clamps are securely fastened to prevent accidents. |
| Sandpaper | A sheet of abrasive material used for smoothing wood surfaces. | Removing rough edges and imperfections from wood. | Always wear a dust mask to protect your lungs from wood dust. |
| Wood Glue | An adhesive specifically designed for bonding wood. | Joining wood pieces together permanently. | Use wood glue sparingly and follow the manufacturer’s instructions. |
Common Woodworking Materials
Woodworking materials come in a variety of types, each with its unique properties and uses. Some common materials include:
– Softwoods: These woods are typically lighter and easier to work with, making them ideal for beginners. Examples include pine, fir, and cedar.
– Hardwoods: These woods are denser and more durable, making them suitable for furniture and other projects requiring strength and longevity. Examples include oak, maple, and cherry.
– Plywood: This material is made by layering thin sheets of wood veneer, resulting in a strong and stable sheet. It’s often used for construction and furniture making.
– MDF (Medium-Density Fiberboard): This engineered wood product is made from wood fibers pressed together. It’s relatively inexpensive and easy to work with, making it suitable for crafting and decorative projects.
Mastering Basic Techniques: First Woodworking Project

Building a successful woodworking project requires a solid foundation of basic techniques. These techniques are the building blocks of every project, ensuring accuracy, precision, and ultimately, a beautiful finished product. This section will guide you through mastering essential techniques, including measuring, cutting, and joining, laying the groundwork for your woodworking journey.
Measuring
Accurate measuring is crucial for any woodworking project. It ensures that your pieces fit together perfectly, resulting in a well-constructed and aesthetically pleasing final product.
Here’s a step-by-step guide to measuring:
- Choose the Right Measuring Tool: For precise measurements, a tape measure is ideal. A ruler can be used for smaller measurements, while a measuring stick can be helpful for larger projects.
- Read the Scale: Familiarize yourself with the markings on your measuring tool, ensuring you understand the units (inches, centimeters, etc.) and the increments.
- Mark the Wood: Use a pencil to mark the desired measurement on the wood. Make sure the mark is clear and visible.
- Double-Check: Always double-check your measurements before cutting. A small error in measurement can lead to significant problems later on.
Cutting
Cutting wood accurately and safely is essential for any woodworking project. There are various cutting techniques, each with its own tools and applications.
Hand Sawing
Hand sawing is a traditional technique that involves using a saw to cut wood by hand. It requires practice and precision but can be a valuable skill for smaller projects.
- Choose the Right Saw: There are various hand saws available, including crosscut saws, ripsaws, and backsaws. Select the saw that is best suited for the type of cut you need to make.
- Secure the Wood: Use a workbench or sawhorses to securely hold the wood while cutting. This ensures stability and prevents accidental movement.
- Start the Cut: Begin the cut by gently pressing the saw blade into the wood. Apply light pressure and maintain a steady pace.
- Complete the Cut: Continue sawing until the cut is complete. Avoid applying excessive pressure, as this can lead to the saw blade binding or breaking.
Power Sawing
Power saws offer faster and more efficient cutting compared to hand sawing. They are essential for larger projects and more complex cuts.
- Circular Saw: A circular saw is a versatile tool used for crosscutting, ripping, and beveling. It has a rotating blade that cuts through wood with ease.
- Jigsaw: A jigsaw is ideal for making intricate curves and shapes. It uses a reciprocating blade that cuts through wood in a back-and-forth motion.
- Table Saw: A table saw is a stationary power saw that provides precise and accurate cuts. It is often used for ripping lumber and making repeated cuts.
Joining
Joining wood pieces together is a crucial part of woodworking. Various techniques are used to create strong and durable joints, ensuring the stability of your project.
Basic Joints
Basic joints are simple and versatile, suitable for a wide range of woodworking projects.
- Butt Joint: A butt joint is the simplest joint, created by joining two pieces of wood end-to-end. While easy to make, it can be weak and prone to separation.
- Lap Joint: A lap joint involves overlapping two pieces of wood, creating a strong and stable joint.
- Miter Joint: A miter joint is created by cutting two pieces of wood at an angle and joining them together. This creates a visually appealing and strong joint.
Advanced Joints
Advanced joints offer increased strength and stability, often used for more demanding projects.
- Dovetail Joint: A dovetail joint is a complex and strong joint, commonly used for drawer fronts and cabinet construction. It is characterized by interlocking tapered pins and slots that provide exceptional strength.
- Mortise and Tenon Joint: A mortise and tenon joint involves cutting a rectangular hole (mortise) in one piece of wood and a corresponding projection (tenon) on the other. This creates a strong and stable joint, often used for furniture and structural elements.
Finishing
Finishing your woodworking project enhances its appearance and protects the wood from damage. There are various finishing techniques, each with its own unique qualities.
Sanding
Sanding is a crucial step in preparing wood for finishing. It removes imperfections and creates a smooth surface.
- Start with Coarse Grit: Begin sanding with a coarse-grit sandpaper (e.g., 80 grit) to remove any major scratches or blemishes.
- Progress to Finer Grit: Gradually move to finer grits (e.g., 120, 180, 220 grit) to achieve a smoother finish.
- Sand with the Grain: Always sand with the grain of the wood to avoid creating scratches or swirl marks.
Applying Finishes
Applying finishes adds protection and enhances the appearance of your woodworking project.
- Staining: Staining adds color to wood without hiding its natural grain. It is often used to enhance the beauty of wood.
- Sealing: Sealing protects wood from moisture, dirt, and other damage. It can also enhance the appearance of the wood.
- Varnishing: Varnishing provides a durable and protective coating that enhances the beauty of the wood. It is often used for furniture and other high-wear items.
Finishing Touches

The final steps in woodworking, sanding and finishing, are crucial for achieving a professional-looking and durable project. Sanding smooths out imperfections and prepares the surface for the finish, while the finish protects the wood from damage and enhances its natural beauty.
Sanding Techniques
Sanding is essential for creating a smooth, even surface that will allow the finish to adhere properly.
Here’s a breakdown of the sanding process:
* Start with coarse grit sandpaper (80-120 grit) to remove any major imperfections or saw marks.
* Progress to finer grits (150-220 grit) to smooth out the surface.
* Finish with the finest grit (220-400 grit) for a perfectly smooth surface.
* Sand with the grain to avoid scratches.
* Use a sanding block to ensure even pressure and prevent dips and ridges.
* Dust the surface thoroughly before applying the finish.
Types of Finishes
There are numerous types of finishes available, each with its own unique properties:
* Oil-based finishes (e.g., tung oil, linseed oil) penetrate the wood and provide a durable, natural-looking finish. They are easy to apply and can be refreshed over time.
* Water-based finishes (e.g., polyurethane, varnish) are less toxic and dry faster than oil-based finishes. They offer good protection and can be applied in multiple coats for a durable finish.
* Shellac is a natural resin-based finish that provides a hard, durable surface. It is also easy to repair and can be used on a variety of wood types.
* Waxes (e.g., beeswax, carnauba wax) provide a natural, water-resistant finish that enhances the wood’s natural beauty. They are easy to apply and can be refreshed as needed.
Applying Finishes, First woodworking project
Applying finishes requires patience and attention to detail.
Here are some general tips:
* Work in a well-ventilated area to avoid inhaling fumes.
* Wear protective gear such as gloves, a mask, and eye protection.
* Apply the finish in thin, even coats to avoid drips and runs.
* Allow the finish to dry completely between coats.
* Sand lightly between coats to create a smooth, even finish.
* Apply a final coat of wax to protect the finish and enhance its shine.
Inspiring Ideas for Your First Project

Now that you’ve got a grasp of the basics, it’s time to put your newfound woodworking skills to the test! Choosing the right project for your first foray into woodworking is crucial. It should be challenging enough to keep you engaged but not so complex that it overwhelms you.
Beginner-Friendly Projects
Here are a few beginner-friendly projects that are perfect for getting your feet wet in woodworking:
- Simple Cutting Board: This is a classic first project for a reason. It’s relatively straightforward, requiring only basic cuts and sanding. You can customize it with different wood species, edge profiles, and even add a juice groove.
- Wooden Coasters: Coasters are a great way to practice your cutting and sanding skills. You can experiment with different shapes and sizes, and even incorporate decorative elements like inlays or burned designs.
- Birdhouse: Building a birdhouse is a fun and rewarding project that allows you to get creative with design. You can choose from a variety of styles and sizes, and even add a decorative roof or a perch.
These projects are all relatively simple to make and can be completed in a few hours. They’re also great for practicing your basic woodworking skills and getting a feel for the tools.
Intermediate Projects
Once you’ve mastered the basics, you can move on to more challenging projects. Here are a few ideas for intermediate woodworkers:
- Small Shelf: Building a shelf is a great way to put your skills to the test. You’ll need to make accurate cuts and joinery, and you can customize the design to fit your needs.
- Wooden Box: A wooden box is a versatile project that can be used for storage, gifts, or even as a decorative element. You can experiment with different joinery techniques, finishes, and hardware.
- Small Table: A small table, like an end table or coffee table, is a great way to challenge yourself with more complex joinery and construction techniques.
These projects will take a bit longer to complete, but they’re a great way to learn new skills and create something truly unique.
Starting your first woodworking project can be exciting! It’s a good idea to have a solid plan in place before you start, and there are lots of resources available to help you out. For example, you might find a helpful woodwork plan online to guide you through the process.
With a good plan and some basic tools, you’ll be well on your way to creating your first woodworking masterpiece!
Advanced Projects
If you’re feeling ambitious, there are plenty of advanced projects that you can tackle. Here are a few ideas to get you started:
- Chair: Building a chair is a challenging but rewarding project that will test your skills in all aspects of woodworking. You’ll need to master joinery, shaping, and finishing.
- Desk: A desk is a more complex project that requires careful planning and execution. You’ll need to create a sturdy frame, a top surface, and drawers or storage compartments.
- Custom Cabinet: Building a custom cabinet is a great way to show off your woodworking skills. You can design it to fit your specific needs and preferences, and you’ll have the opportunity to use a variety of joinery techniques and finishes.
These projects are for experienced woodworkers who are confident in their abilities. They require a significant investment of time and effort, but the rewards are worth it.
Tips for Customizing Projects
No matter what project you choose, there are always ways to customize it to match your individual preferences and skill level. Here are a few tips:
- Choose the right wood: Different wood species have different properties, so choose one that’s appropriate for your project. For example, hardwoods like oak and maple are strong and durable, while softwoods like pine and cedar are easier to work with.
- Experiment with finishes: There are a wide variety of finishes available, from simple stains to complex varnishes. Choose one that will protect your project and enhance its natural beauty.
- Add decorative elements: You can add decorative elements like inlays, carvings, or painted designs to personalize your project.
- Don’t be afraid to make mistakes: Everyone makes mistakes when they’re learning woodworking. The important thing is to learn from them and keep practicing.
Woodworking is a rewarding hobby that can be enjoyed by people of all ages and skill levels. With a little patience and practice, you can create beautiful and functional pieces that you’ll be proud to display in your home.
Learning Resources and Communities

Embarking on your woodworking journey can be both exciting and daunting. There’s a wealth of knowledge out there, but knowing where to start can be overwhelming. This section explores valuable resources and communities that can guide you through the world of woodworking.
Recommended Resources
A variety of resources can help you learn the fundamentals of woodworking, from books and websites to online communities. Here are some excellent options to get you started:
- Books: Woodworking books provide a comprehensive and structured approach to learning. They often cover specific techniques, projects, and tools, offering detailed explanations and illustrations. Some popular choices include:
- The Complete Illustrated Guide to Woodworking by Glen D. Huey
- Woodworking for Dummies by Jeff Heller
- The Complete Book of Woodworking by Editors of Creative Publishing
- Websites: Websites offer a vast library of information, tutorials, and project plans. Many websites cater specifically to beginners, providing easy-to-follow instructions and helpful tips. Some recommended websites include:
- Woodworking for Mere Mortals: This website offers a wealth of free woodworking plans, articles, and tutorials for all skill levels.
- Popular Woodworking Magazine: This website features articles, project plans, and videos covering various woodworking topics.
- Fine Woodworking Magazine: This website offers high-quality articles, project plans, and videos for woodworkers of all skill levels.
- Online Communities: Joining woodworking communities can provide a platform to connect with other woodworkers, ask questions, share your projects, and learn from experienced individuals. These communities offer a supportive and collaborative environment for learning and growth. Some popular online communities include:
- Woodworking.org: This online forum features discussions on various woodworking topics, including project plans, tool reviews, and technique tips.
- Lumberjocks: This website provides a platform for woodworkers to share their projects, connect with other woodworkers, and access resources.
- Reddit’s r/Woodworking: This subreddit offers a vibrant community of woodworkers who share their projects, ask questions, and offer advice.
Benefits of Joining Woodworking Communities
Joining woodworking communities offers numerous benefits, including:
- Access to Expertise: Experienced woodworkers in these communities can provide valuable insights, tips, and guidance on techniques, tools, and project ideas. They can help you troubleshoot problems, learn from their mistakes, and avoid common pitfalls.
- Inspiration and Motivation: Seeing the projects and skills of other woodworkers can inspire you to push your boundaries and explore new techniques. The community can provide a constant source of motivation to keep learning and improving.
- Support and Feedback: Woodworking communities offer a supportive environment where you can share your projects, receive constructive feedback, and connect with others who share your passion. This can be especially helpful when tackling challenging projects or seeking advice on specific techniques.
Value of Online Tutorials and Video Demonstrations
Online tutorials and video demonstrations can be invaluable for learning woodworking techniques. They provide a visual and interactive approach to learning, allowing you to see the steps in action and understand the nuances of each technique. Here are some key benefits:
- Visual Learning: Visual demonstrations can be much more effective than written instructions alone, allowing you to see the process unfold and understand the proper movements and techniques.
- Step-by-Step Guidance: Tutorials and videos often break down complex techniques into manageable steps, making it easier to follow along and learn the process gradually.
- Repeatability: You can pause, rewind, and replay videos as needed, allowing you to review specific steps or techniques at your own pace.
Last Recap
As you embark on your first woodworking project, remember that the journey is just as rewarding as the finished product. Embrace the learning process, celebrate your successes, and don’t be afraid to experiment. With a little patience, dedication, and the right tools, you’ll discover the joy of creating something beautiful and lasting with your own hands.
Question Bank
What is the best wood for beginners?
Softwoods like pine and fir are great for beginners due to their affordability and ease of working with.
How do I know if I have the right tools?
Start with the basics: a saw, hammer, measuring tape, and a screwdriver. You can always expand your tool collection as you gain experience.
Where can I find woodworking plans?
There are numerous online resources, woodworking magazines, and even libraries that offer free woodworking plans.
