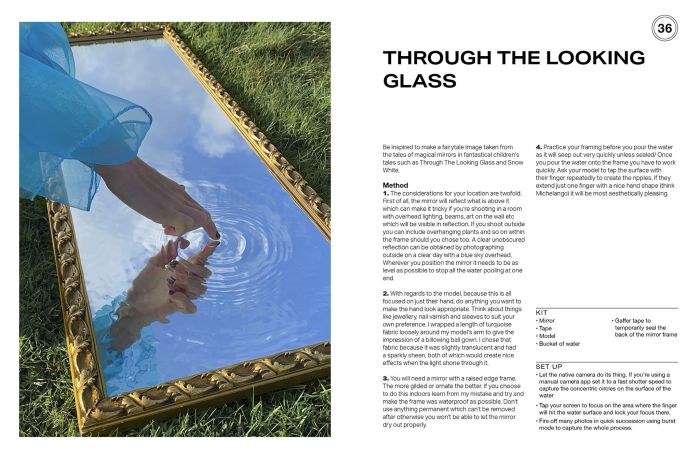
Tired of your smartphone photos looking like they were taken by a potato? It’s time to ditch the “just point and shoot” mentality and unlock the full potential of your phone’s camera. Get ready to level up your photography game with 52 clever ideas that’ll turn your everyday snaps into Insta-worthy masterpieces.
From mastering the fundamentals to exploring advanced techniques, this guide has everything you need to capture the world in a whole new light.
Think of this as your secret weapon for capturing killer photos without needing a fancy DSLR. We’ll break down the basics, like understanding exposure and composition, and then dive into some pro-level tricks, like using lighting to your advantage and mastering the art of post-processing.
So grab your phone, ditch the filters, and get ready to unleash your inner photographer!
Mastering the Fundamentals
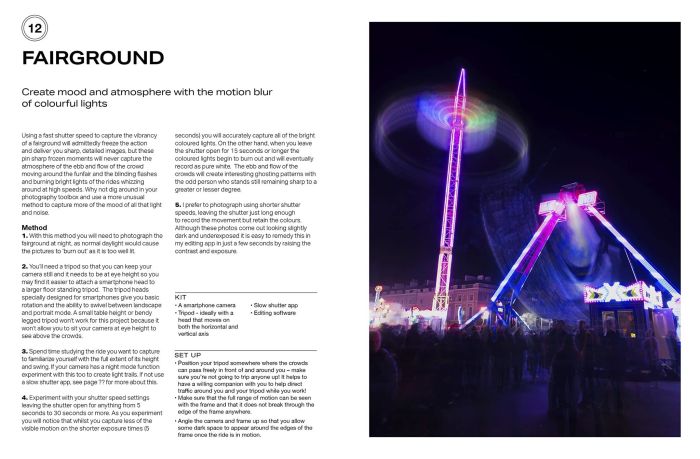
You’re holding a powerful tool in your hand—your smartphone—and with a little know-how, you can unlock its full potential to capture amazing photos. Let’s dive into the fundamental building blocks of smartphone photography, exploring key concepts like exposure, composition, and lighting.
We’ll also explore the importance of understanding your smartphone camera’s capabilities and limitations, and learn how to use manual controls to take greater control over your images.
Understanding Your Smartphone Camera
Your smartphone camera is a complex piece of technology, and understanding its capabilities and limitations is essential for taking great photos. Most modern smartphones come equipped with a variety of features, including autofocus, HDR, and even manual controls. Understanding these features can help you make informed decisions about how to capture the perfect shot.
Exposure: Finding the Right Balance
Exposure refers to the amount of light that reaches your camera’s sensor. It’s a critical element in determining the overall brightness and detail of your photo. Exposure is controlled by three key factors:
ISO
ISO stands for International Organization for Standardization. It measures a camera sensor’s sensitivity to light. A higher ISO setting means the sensor is more sensitive to light, resulting in a brighter image. However, higher ISO settings can also introduce noise or grain into the image.
Shutter Speed
Shutter speed determines how long the camera’s shutter remains open, allowing light to reach the sensor. A faster shutter speed freezes motion, while a slower shutter speed allows for more light to enter, resulting in a brighter image. However, slower shutter speeds can result in motion blur if the subject is moving.
Aperture
Aperture is the size of the opening in your camera’s lens that allows light to pass through. A wider aperture (smaller f-number) lets in more light, resulting in a brighter image. A wider aperture also creates a shallower depth of field, blurring the background and making your subject stand out.
So, you wanna level up your phone photography game with “Smart Photos 52 Ideas To Take Your Smartphone Photography to the Next Level”? That’s cool, but first, check out the raw power of words in Narrative of the Life of Frederick Douglass (Dover Thrift Editions Black History).
It’s a classic for a reason, and it’ll inspire you to capture the truth in your own shots. Then, get back to those 52 ideas and turn your phone into a pro-level camera!
Composition: Arranging the Elements
Composition is the art of arranging the elements in your photo to create a visually pleasing and impactful image. There are many rules and guidelines for composition, but the most important thing is to experiment and find what works best for you.
The Rule of Thirds
The rule of thirds suggests dividing your image into nine equal squares, using two horizontal and two vertical lines. Placing key elements along these lines or at their intersections can create a more dynamic and visually appealing composition.
Leading Lines
Leading lines are lines in your image that draw the viewer’s eye to the subject. They can be created by roads, fences, rivers, or even shadows.
So you’re looking to level up your phone photography game with “Smart Photos 52 Ideas To Take Your Smartphone Photography to the Next Level,” huh? That’s awesome! Maybe you’re looking for some creative inspiration to get those perfect shots.
If you’re into intricate designs, maybe you’d love to check out Fairies – Dot to Dot Puzzle (Extreme Dot Puzzles with over 15000 dots) Extreme Dot to Dot Books for Adults by Modern Puzzles Press – Beautiful and … Fairyland – Challenges to complete and color.
It’s like a super-sized connect-the-dots for adults! Anyway, back to those smartphone photos – you’ll be snapping like a pro in no time!
Framing
Framing is using elements in your scene to create a natural frame around your subject. This can be done using trees, windows, doorways, or even other objects.
Yo, wanna level up your smartphone photography game? “Smart Photos: 52 Ideas To Take Your Smartphone Photography to the Next Level” is the ultimate guide, packed with tips and tricks to capture epic shots. Check out the audio version Download And Listen Here to boost your Insta feed and become the envy of all your followers.
From mastering lighting to nailing the perfect composition, this book will make you a smartphone photography pro in no time.
Lighting: Illuminating Your Subject
Lighting is arguably the most important element in photography. It determines the mood, atmosphere, and overall look of your image.
Natural Light
Natural light is the most flattering and versatile light source. It’s always changing, so experiment with different times of day to see how the light affects your subject.
Artificial Light
Artificial light can be used to create a variety of effects. You can use lamps, flashlights, or even the screen of your smartphone to add light to your scene.
Backlighting
Backlighting is when the light source is behind your subject. This can create a halo effect around your subject and make them stand out against the background.
Sidelighting
Sidelighting is when the light source is coming from the side of your subject. This can create dramatic shadows and highlights, adding depth and dimension to your image.
Conclusion
Mastering the fundamentals of smartphone photography will empower you to capture stunning images that truly reflect your vision. By understanding exposure, composition, and lighting, you’ll be able to create photos that are both technically sound and visually captivating.
Enhancing Composition and Framing
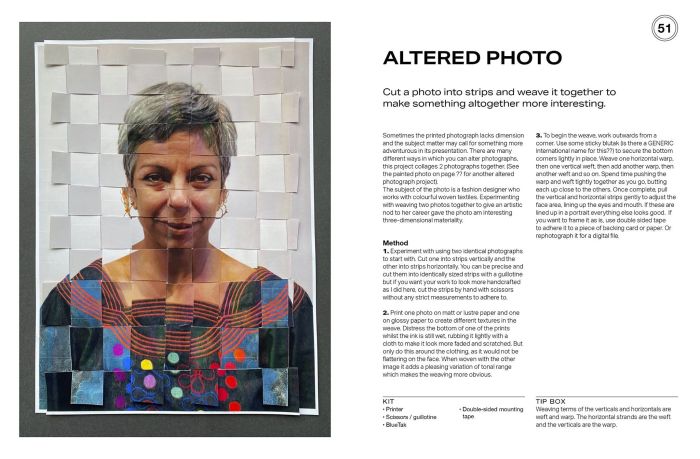
Think of composition as the art of arranging elements within your photo to create a visually pleasing and impactful image. It’s like staging a scene for a movie, but instead of actors, you’re working with light, shadows, and objects.
Mastering composition can make your photos pop and draw the viewer’s eye to the most important parts.
Smart Photos 52 Ideas To Take Your Smartphone Photography to the Next Level is all about leveling up your game, just like Little Richard did in the music world. You can check out his story in Little Richard A Life from Beginning to End (Biographies of Musicians) to see how he rocked the world.
But back to your phone camera, with the right tips, you can take shots that’ll make your Insta feed pop like a live Little Richard concert!
The Rule of Thirds
The rule of thirds is a fundamental principle of composition that divides your frame into nine equal sections using two horizontal and two vertical lines. The idea is to place your subject along these lines or at their intersections, rather than in the center of the frame.
This creates a more dynamic and visually interesting composition.
- Imagine a tic-tac-toe board overlaid on your screen. The points where the lines intersect are known as “power points” and are considered the most visually appealing places to position your subject.
- For example, if you’re photographing a landscape, you might place the horizon along the top or bottom third line, rather than right in the middle.
Leading Lines
Leading lines are elements within your photo that draw the viewer’s eye to the subject. These lines can be straight, curved, or diagonal and can be created by roads, fences, rivers, or even the direction of someone’s gaze.
- Leading lines can add depth and dimension to your photos, guiding the viewer’s eye through the scene.
- For example, if you’re photographing a bridge, you might use the lines of the bridge to lead the viewer’s eye towards the center of the bridge or the other side.
Negative Space
Negative space is the area around your subject. It’s often overlooked, but it plays a crucial role in creating a balanced and visually appealing composition. By strategically using negative space, you can make your subject stand out more and give your photo a sense of breathing room.
- Too much negative space can make your subject seem lost, while too little can make your photo feel cluttered.
- The key is to find a balance that creates a sense of harmony between your subject and the space around it.
Framing
Framing is a technique that uses natural elements or objects within your scene to create a frame around your subject. This can help to draw attention to the subject and add depth and context to your photo.
- Think of a picture frame, but instead of wood or metal, it’s created by branches, windows, doorways, or even people.
- Framing can help to isolate your subject and create a sense of intimacy or distance, depending on the frame you choose.
Perspective and Angles
Perspective and angles are essential for adding depth and interest to your photos. By changing your perspective, you can change the way your subject appears in the frame. Experiment with different angles, such as low angles, high angles, and bird’s-eye views, to find the most interesting and visually appealing perspective for your subject.
- Low angles can make your subject appear larger and more powerful, while high angles can make them appear smaller and more vulnerable.
- Bird’s-eye views can give you a unique perspective on your subject and show off the surroundings in a new way.
Exploring Lighting Techniques
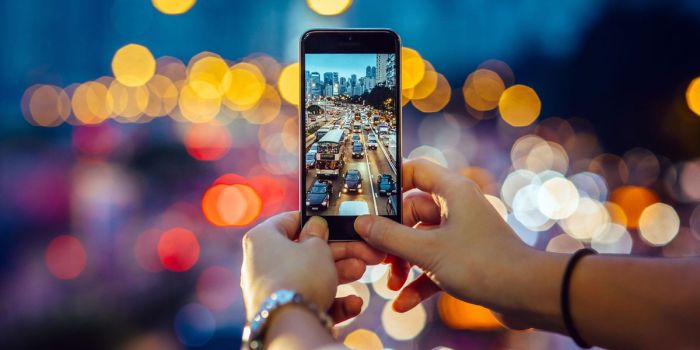
Lighting is the foundation of any great photograph, and understanding how to use it effectively can elevate your smartphone photography to a whole new level. Think of light as the paintbrush you use to shape your images, highlighting details, creating mood, and setting the tone for your story.
Harnessing the Power of Natural Light
Natural light is your best friend in smartphone photography. It’s free, readily available, and offers a wide range of possibilities. Think of the sun as a giant, adjustable spotlight, casting shadows and highlighting textures in a way that artificial light often struggles to replicate.
The direction and intensity of natural light significantly impact the mood and feel of your photos. Imagine taking a picture of your friend on a sunny afternoon at the park. The light is hitting them directly, creating strong shadows and a sense of vibrancy.
Now imagine taking that same picture in the soft, diffused light of a cloudy day. The shadows are softer, the colors are muted, and the overall feel is more tranquil.
- Golden Hour:The hour after sunrise and the hour before sunset, known as the golden hour, is a photographer’s dream. The light is warm, soft, and casts long, dramatic shadows, creating a magical atmosphere. Imagine capturing a silhouette of a friend against the setting sun, with the warm glow highlighting their Artikel.
- Overcast Days:While it might seem less exciting, overcast days offer a beautiful, diffused light that’s perfect for portraits and landscapes. The soft light evens out skin tones and reduces harsh shadows, making it ideal for capturing natural beauty.
- Backlighting:Position yourself with the sun behind your subject, creating a halo effect and highlighting their hair or silhouette. This technique adds a dramatic and ethereal feel to your photos.
Editing and Post-Processing
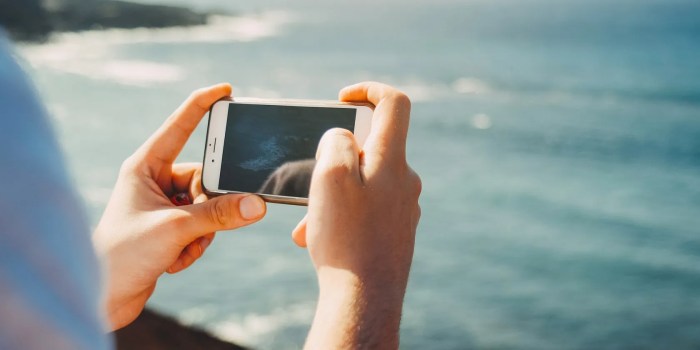
Okay, so you’ve captured some killer shots with your phone, but now it’s time to take them from good to GREAT! That’s where editing and post-processing come in. Think of it like giving your photos a little makeover. We’re talking about taking those raw images and adding some polish, like a digital touch-up for your pics.
Basic Editing Tools
Let’s start with the basics, like the tools that come built-in on your phone. Think of them as the essentials in your editing kit. Here’s a quick rundown of the most common ones: * Cropping:This is like trimming the edges of your photo to remove distractions or change the aspect ratio.
Think of it as giving your photo a fresh haircut!
Brightness and Contrast
These tools adjust the overall light and darkness in your image. Want to brighten up a dull scene? Or add some drama with deeper shadows? These tools are your go-to.
Exposure
This controls the overall lightness or darkness of your image. It’s like adjusting the brightness of your phone screen.
Mobile Photo Editing Apps
Okay, now let’s level up our editing game with some powerful mobile apps. These apps are like having a whole team of photo editors at your fingertips! Here are a few popular options: * Snapseed:This app is like the Swiss Army Knife of photo editing.
It has a ton of tools and features, from basic adjustments to more advanced ones like selective editing.
VSCO
Known for its cool filters, VSCO also lets you fine-tune your edits with various tools and presets.
Adobe Lightroom Mobile
A powerful app from the Adobe family, Lightroom Mobile gives you pro-level editing capabilities on your phone. It’s perfect for making those small adjustments that can make a big difference.
Enhancing Colors, Sharpness, and Image Quality
Here’s where the magic happens! Post-processing is all about taking your image to the next level. It’s like giving your photos a little extra oomph. * Color Correction:This is about getting the colors in your image to look just right.
Think of it as making sure the colors are balanced and accurate.
Sharpness
This tool can make your images look more defined and crisp. It’s like sharpening the focus on your photo.
Noise Reduction
Digital noise can sometimes appear in photos, especially in low-light situations. Noise reduction helps to smooth out those imperfections and make your image look cleaner.
Book Review
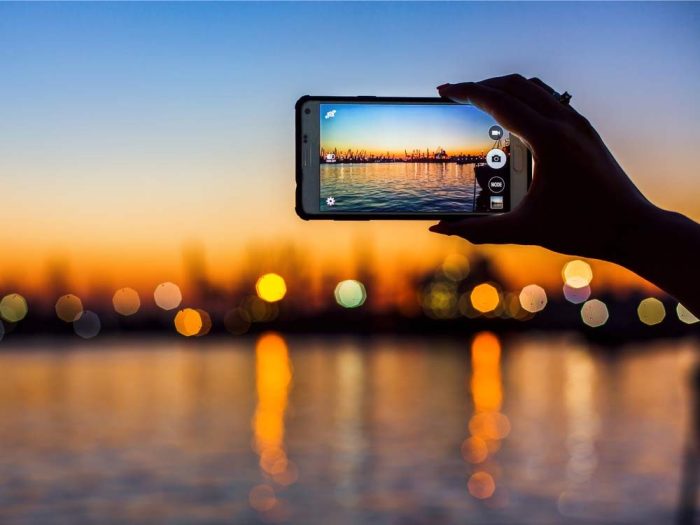
The smartphone photography world is bursting with resources, but one book stands out as a truly valuable guide for both beginners and seasoned shooters: “The Smartphone Photography Book: The Ultimate Guide to Taking Stunning Photos with Your iPhone or Android” by Peter McKinnon.
This comprehensive guide offers a treasure trove of tips, tricks, and techniques to elevate your mobile photography game.
Target Audience and Content
McKinnon’s book is designed for a wide audience, from complete novices to those seeking to refine their skills. The content is structured logically, starting with the basics and gradually progressing to more advanced concepts. Each chapter tackles a specific aspect of smartphone photography, including composition, lighting, editing, and even creative techniques like long exposures and time-lapses.
Strengths
- Practical and Actionable Advice:McKinnon’s writing style is clear, concise, and packed with practical advice. He doesn’t just tell you what to do; he explains the “why” behind each technique, empowering you to understand the principles of good photography.
- Emphasis on Creativity:The book encourages experimentation and exploration. McKinnon emphasizes that smartphone photography is about more than just technical skills; it’s about capturing your unique vision and perspective.
- Stunning Visuals:Throughout the book, McKinnon showcases stunning examples of smartphone photography. These visuals inspire and demonstrate the potential of your phone’s camera.
- Accessibility and Affordability:One of the book’s greatest strengths is its accessibility. Smartphone photography is inherently accessible, and McKinnon’s guide reinforces this by focusing on techniques that can be mastered with minimal equipment.
Weaknesses
While “The Smartphone Photography Book” excels in many ways, it does have a few minor drawbacks.
- Limited Coverage of Specific Phone Models:The book provides general guidance, but it doesn’t delve into the specific features and capabilities of individual phone models. This could leave some readers wanting more tailored information.
- Rapidly Evolving Technology:The world of smartphone photography is constantly evolving. While McKinnon’s core principles remain timeless, some of the specific editing apps and techniques might become outdated quickly.
Comparison to Other Resources
“The Smartphone Photography Book” stands out from other resources by combining a strong foundation in photographic principles with a focus on the unique aspects of smartphone photography. It strikes a balance between technical instruction and creative inspiration, making it a valuable resource for photographers of all levels.
Final Summary
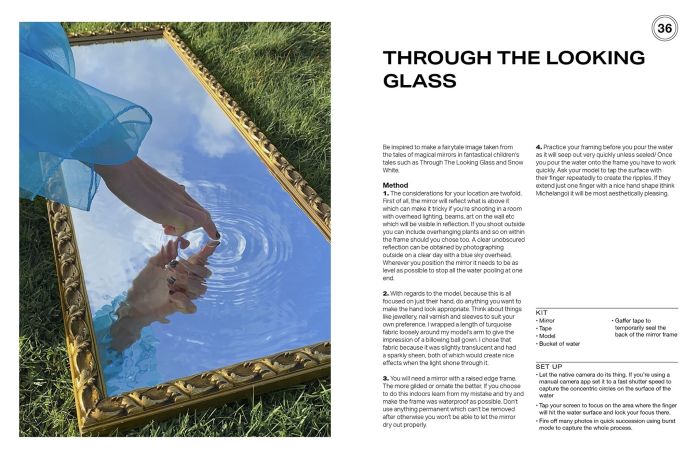
With these 52 smart photo ideas in your arsenal, you’ll be capturing epic photos like a pro in no time. Forget about boring snapshots – you’ll be creating stunning visuals that make your friends say, “Wow, did you really take that with your phone?!” Remember, it’s not about the equipment, it’s about the creativity and the passion you bring to your photography.
So go out there, experiment, and have fun with it!
General Inquiries
Do I need a fancy phone to take great photos?
Nope! You can achieve amazing results with even a basic smartphone. It’s all about understanding the fundamentals and using your phone’s camera creatively.
What are some must-have mobile photo editing apps?
There are tons of great apps out there, but some popular choices include Snapseed, Lightroom Mobile, and VSCO. Experiment and find the ones that fit your style.
Where can I find inspiration for smartphone photography?
Instagram is a great place to find inspiration! Follow photographers who use their smartphones to capture incredible images. You can also find tons of tutorials and tips on YouTube and photography blogs.

